
How to navigate between routes in Next.js?
Next.js enables us to create multi-page applications. Learn how to navigate between the page routes in Next.js, statically and programmatically.

Co-Founder, @CreoWis | Teacher, @tapaScript | Founder, @ReactPlay | YouTuber | Writer | Human
Next.js App router enables us to create file-system-based routing where the top-level app/ folder acts as the root route(/), and a special page.js file under it acts as the page for that route segment.
Often, we would like to go from one page to another by navigating between routes. Next.js provides us with two ways to navigate:
Using the
<Link>componentUsing the
useRouterhook
Both these approaches have their purpose. Let's learn them.
Hey, did you know that you can check out best FREE and Premium Next.js templates and themes for your upcoming project? Take a look here.
The <Link> component to navigate between routes
The <Link> is a built-in Next.js component that helps in client-side navigation between routes. Internally, the Link component extends the browser's anchor(<a />) component to provide the prefetching functionality. Prefetching is how to preload a route in the background for a better performance. It is done before users visit a route. Hence, the navigation between routes appears fast and smooth.
To use the Link component, you need to first import it from the next/link. The href prop of the Link component takes the target route as a value.
Let's see an example,
import Link from "next/link";

export default function Header() {
  return (
    <header
        className="flex justify-between items-center px-8 py-4 bg-[#50076d] text-white">

        <h1 className="text-lg font-bold">
            <Link href="/">Learn Next.js</Link>
        </h1>
        <nav className="flex space-x-6">
            <Link href="/">Home</Link>
            <Link href="/blog">Blog</Link>
            <Link href="/play">Play</Link>
            <Link href="/store">Store</Link>
            <Link href="/about">About</Link>
        </nav>
    </header>
  );
}
The source code above is a Header component with a header text and five navigation links. Each link is created with the <Link> component along with the href prop having the value of the respective route.
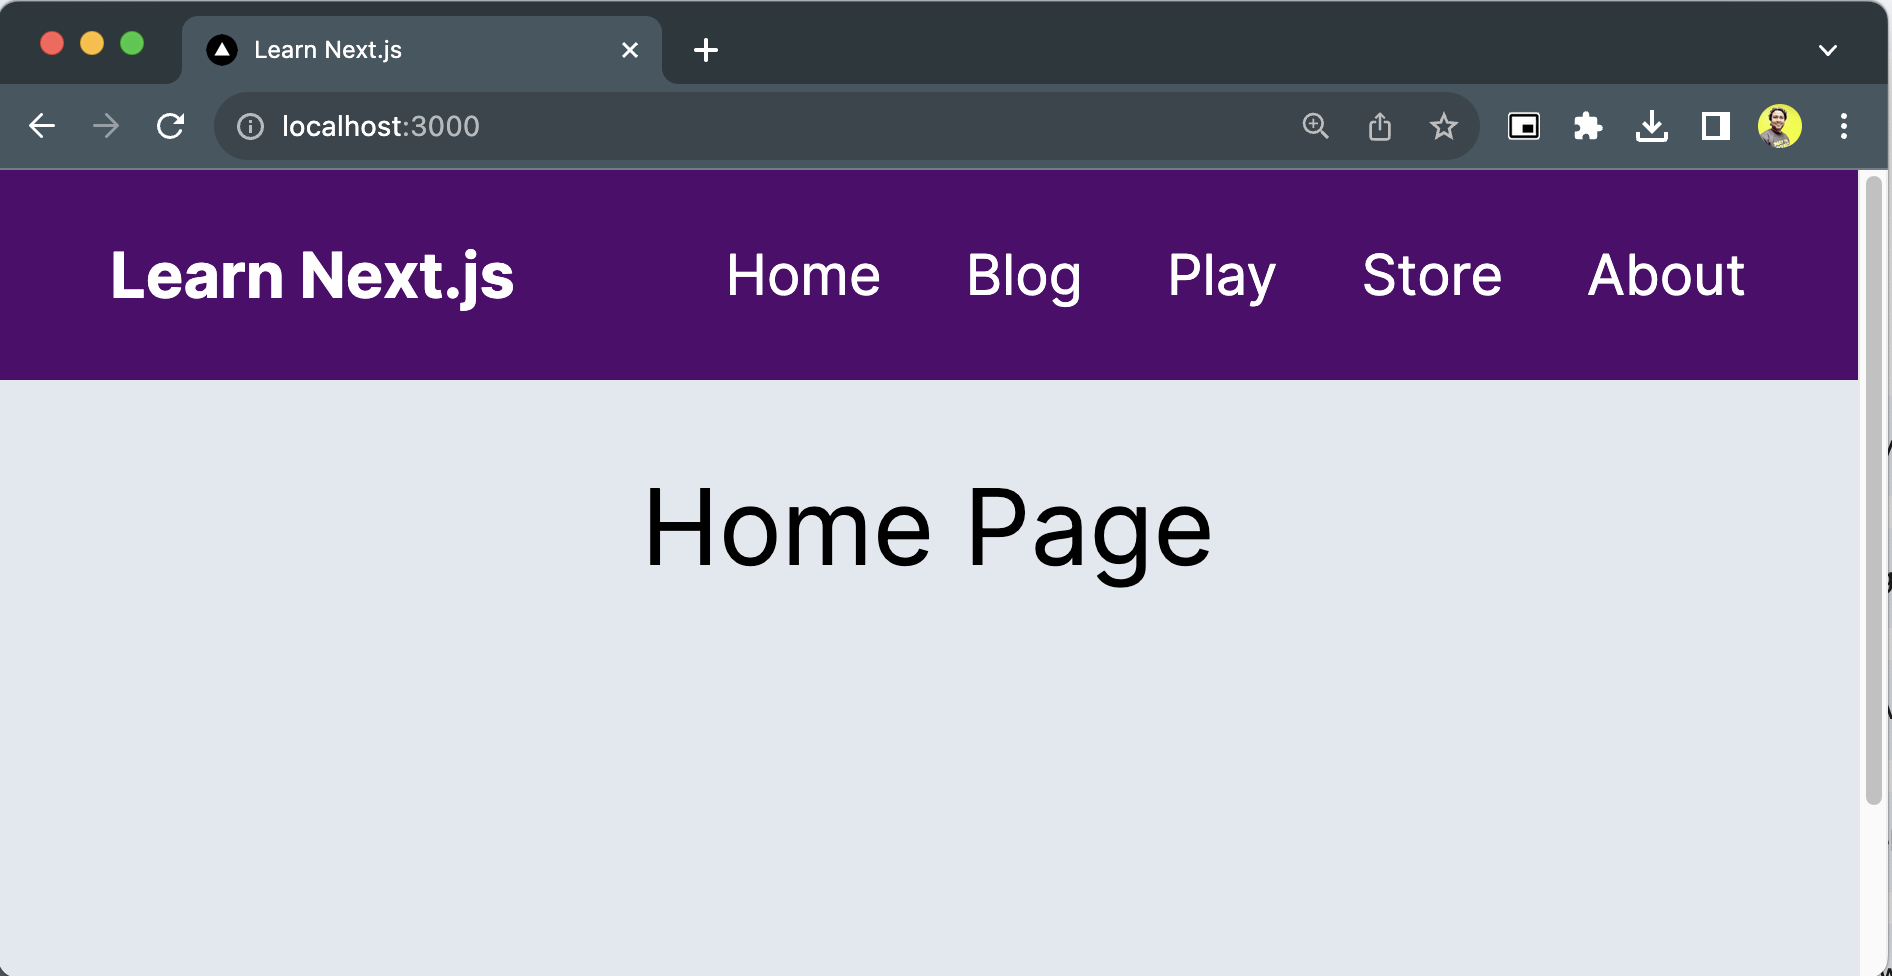
So when you click on the Blog link, it navigates to the /blog route. For the Play link, navigates to the /play route, and so on.
For linking to a dynamic route segment, you can generate the links using template literals and interpolation. Then, pass this link to the href prop of the <Link> component.
import Link from 'next/link'

export default function UserList({ users }) {
  return (
    <ul>
      {users.map((user) => (
        <li key={user.id}>
          <Link href={`/user/${user.id}`}>{user.name}</Link>
        </li>
      ))}
    </ul>
  )
}
In the above code, we create a dynamic route for every user using their IDs.
How to do in-page navigation with the Next.js's Link component?
Generally the <Link> component is used to navigate from one route to another. The default behaviour is to scroll to the top of the route. However, you can scroll to a specific ID of a new route or navigate within the page to a specific HTML element with the Link component.
Append the URL with a # followed by the ID of an HTML element to navigate(scroll) to a specific ID on the page. The code snippet below shows a navigation link to scroll to the services section of the page using its id #services.
<Link href="/home#services">Services</Link>
The useRouter hook to navigate between the routes programmatically
At times you may want to navigate from one route to another programmatically. How about moving from one route to another with a button click? In this case, you should not use the <Link> component we learned so far.
Next.js provides you with a hook useRouter that helps you in this case.
'use client'

import { useRouter } from 'next/navigation'

export default function EmployeePage() {
  const router = useRouter()

  return (
    <button type="button" onClick={() => router.push('/salary')}>
      Salary
    </button>
  )
}
In the code above,
We import the
useRouterhook from thenext/navigation.We get a
routerinstance from the hook.We invoke the
pushmethod passing the new route when clicking the "Salary" button.
Please note when you use the useRouter hook in a component, you must make the component a client component. We have done that in the above code using the 'use client' directive.
Also, try to use the <Link> component as much as possible to navigate between the routes, except in a few cases as we demonstrated with the useRouter hook.
Before we end...
I am a self-declared Next.js evangelist who loved this framework from its very beginning days. With the inclusion of the App Router, the affection has gone higher 😊.
I have a full-fledged playlist on my YouTube channel(tapaScript) that will teach you to build full-stack applications with Next.js, from clarifying fundamental concepts to coding and tasks.
You may want to check it out.
Let's connect. I share knowledge on web development, content creation, Open Source, and careers on these platforms.