Dynamic routes recipes from Next.js App Router
Learn about dynamic routes and other routing essentials from the Next.js App Router in a beginner-friendly way, with many code examples and visuals.
Next.js App Router has brought many improvements over its predecessor, Page Router. One of the significant improvements is the routing itself.
Next.js App Router uses the file-system-based router, where you create directories(aka folders) to define routes. You must create a special file called page.js(or .ts/.jsx/.tsx) under the directory to create a page for the route.
The top-level app/ directory acts as the root route(/), and any directory you create under the app directory will create other route segments that map to a URL segment. You can also create the nested route by creating the subdirectories as shown in the image below.
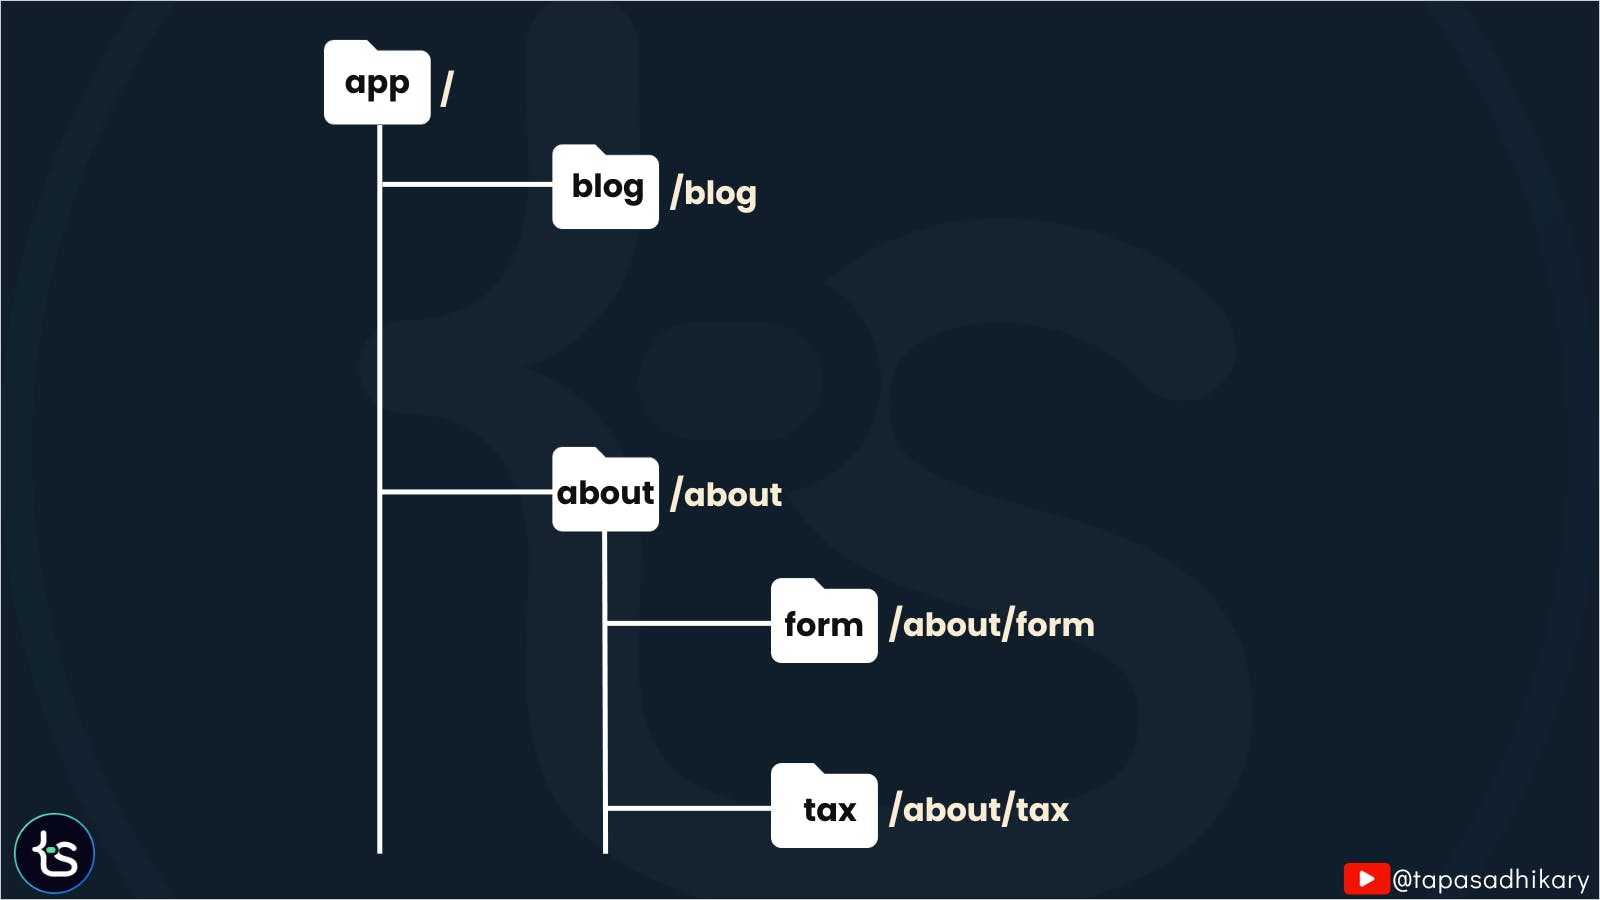
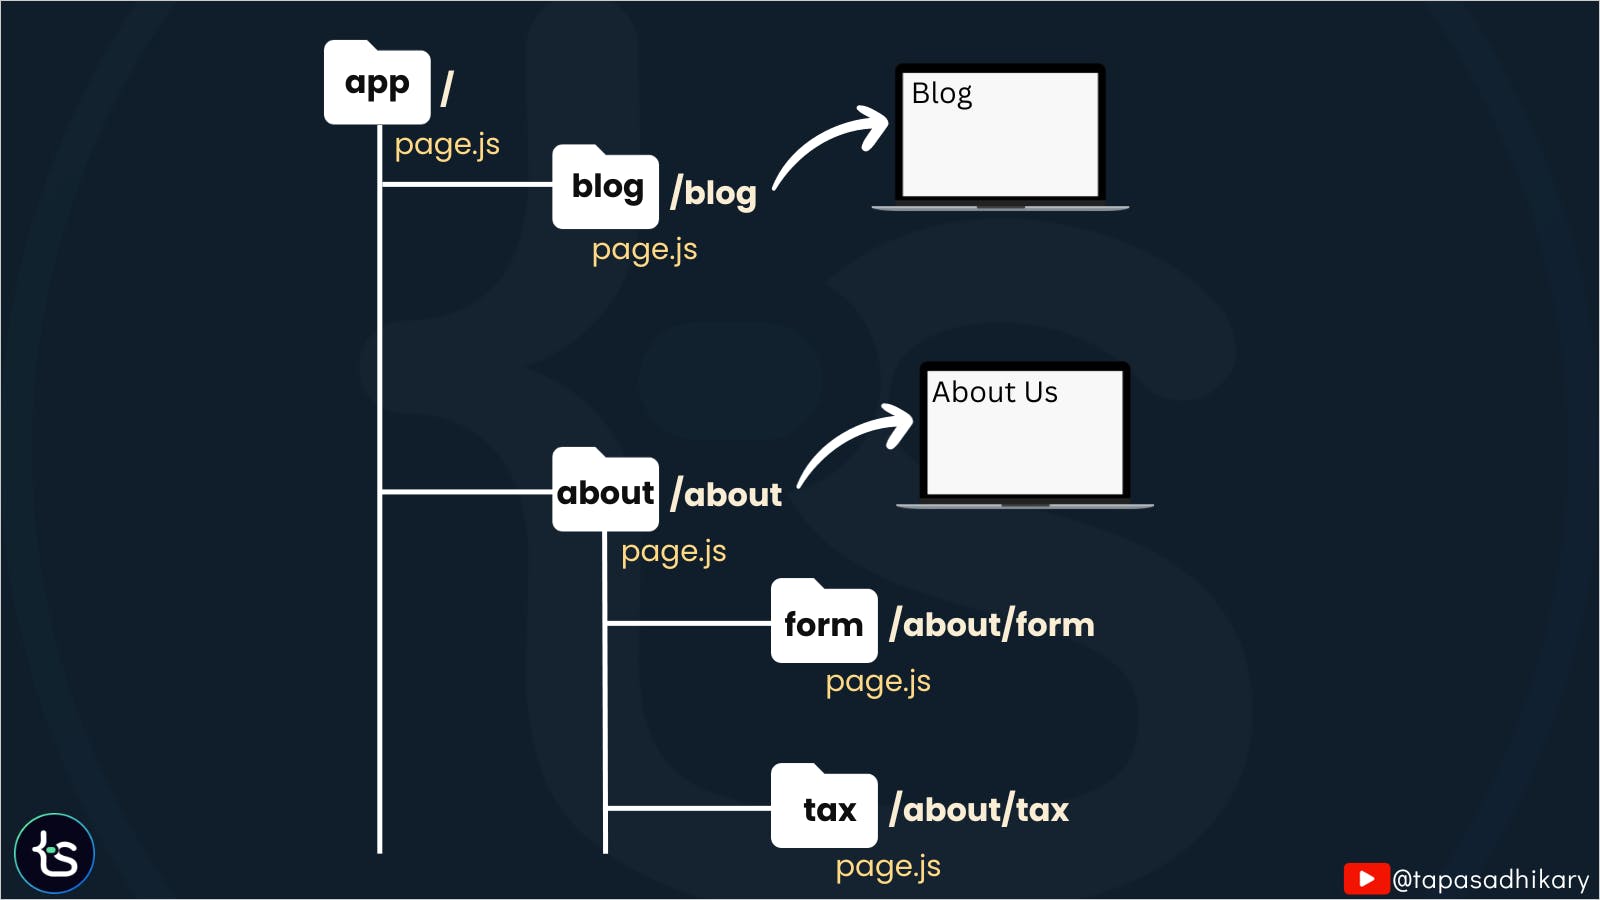
In Next.js App Router, a page is unique to a route. You can create one page per route by creating a page.js file under a directory that signifies a route segment.
// /app/page.js
export default function Page() {
  return <h1>Home Page</h1>
}
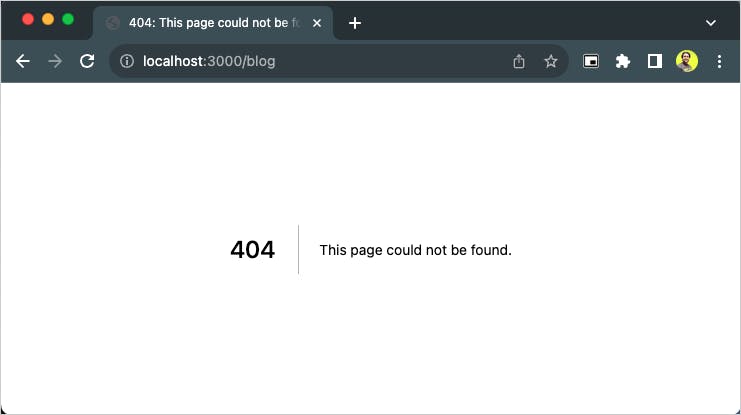
If a directory doesn't have a corresponding page.js file, the respective route will be inaccessible and result in a 404, page not found error. The image below demonstrates that each route directory has a page file that creates the page for that route segment.
So far, all the routes we have discussed are static and pre-defined, known beforehand to developers to construct the route segments. But what if we do not know the value to form a route segment? What if it is dynamic, like an id, name, or slug?
Welcome Dynamic Routes
You create dynamic routes when you do not know the route segment name and want to create with dynamic data. For example, you may have a static route called /blog. Creating individual blog post routes under it will be too much overhead. You may want to create them using any dynamic data like id, name. or a slug.
💡 What is a slug?
Slug is an unique part of an URL that provides information about a web page. You should keep them simple, human-readable to help out with SEO. It appears at the end part of the URL after the backslash (“/”). For example,
how-to-learnis the slug of the URLhttps://tapascript.io/blog/how-to-learn.

Let's Understand Things With Code
We understand things better with code. Let's do that. All the code used in this article is available on the tapaScript GitHub repository.
First, we will create a project with the latest Next.js version. Open a terminal/command prompt and execute the following command. Make sure you have installed Node.js 18 or above.
npx create-next-app@latest
Please provide the details asked. A few important things to note here.
Opt for
App RouterThe selection of TypeScript is your choice. If you are comfortable with it, you can select Yes. I'll use JavaScript code in this article as most developers will likely use it(however, I am a big TypeScript fan!).
You may opt for the
src/directory. I do that as I like to keep my project configuration files under thesrc/directory but outside of theapp/directory. Here, we will assume to opt for it.

Once done, change the directory to your project directory and install the dependencies using yarn/npm/pnpm/bun, whatever you want. Then, start the server locally using the yarn dev or its npm/pnpm/bun equivalent commands.
> cd teach-next-js
> yarn
> yarn dev # or npm run dev or pnpm dev or bun dev
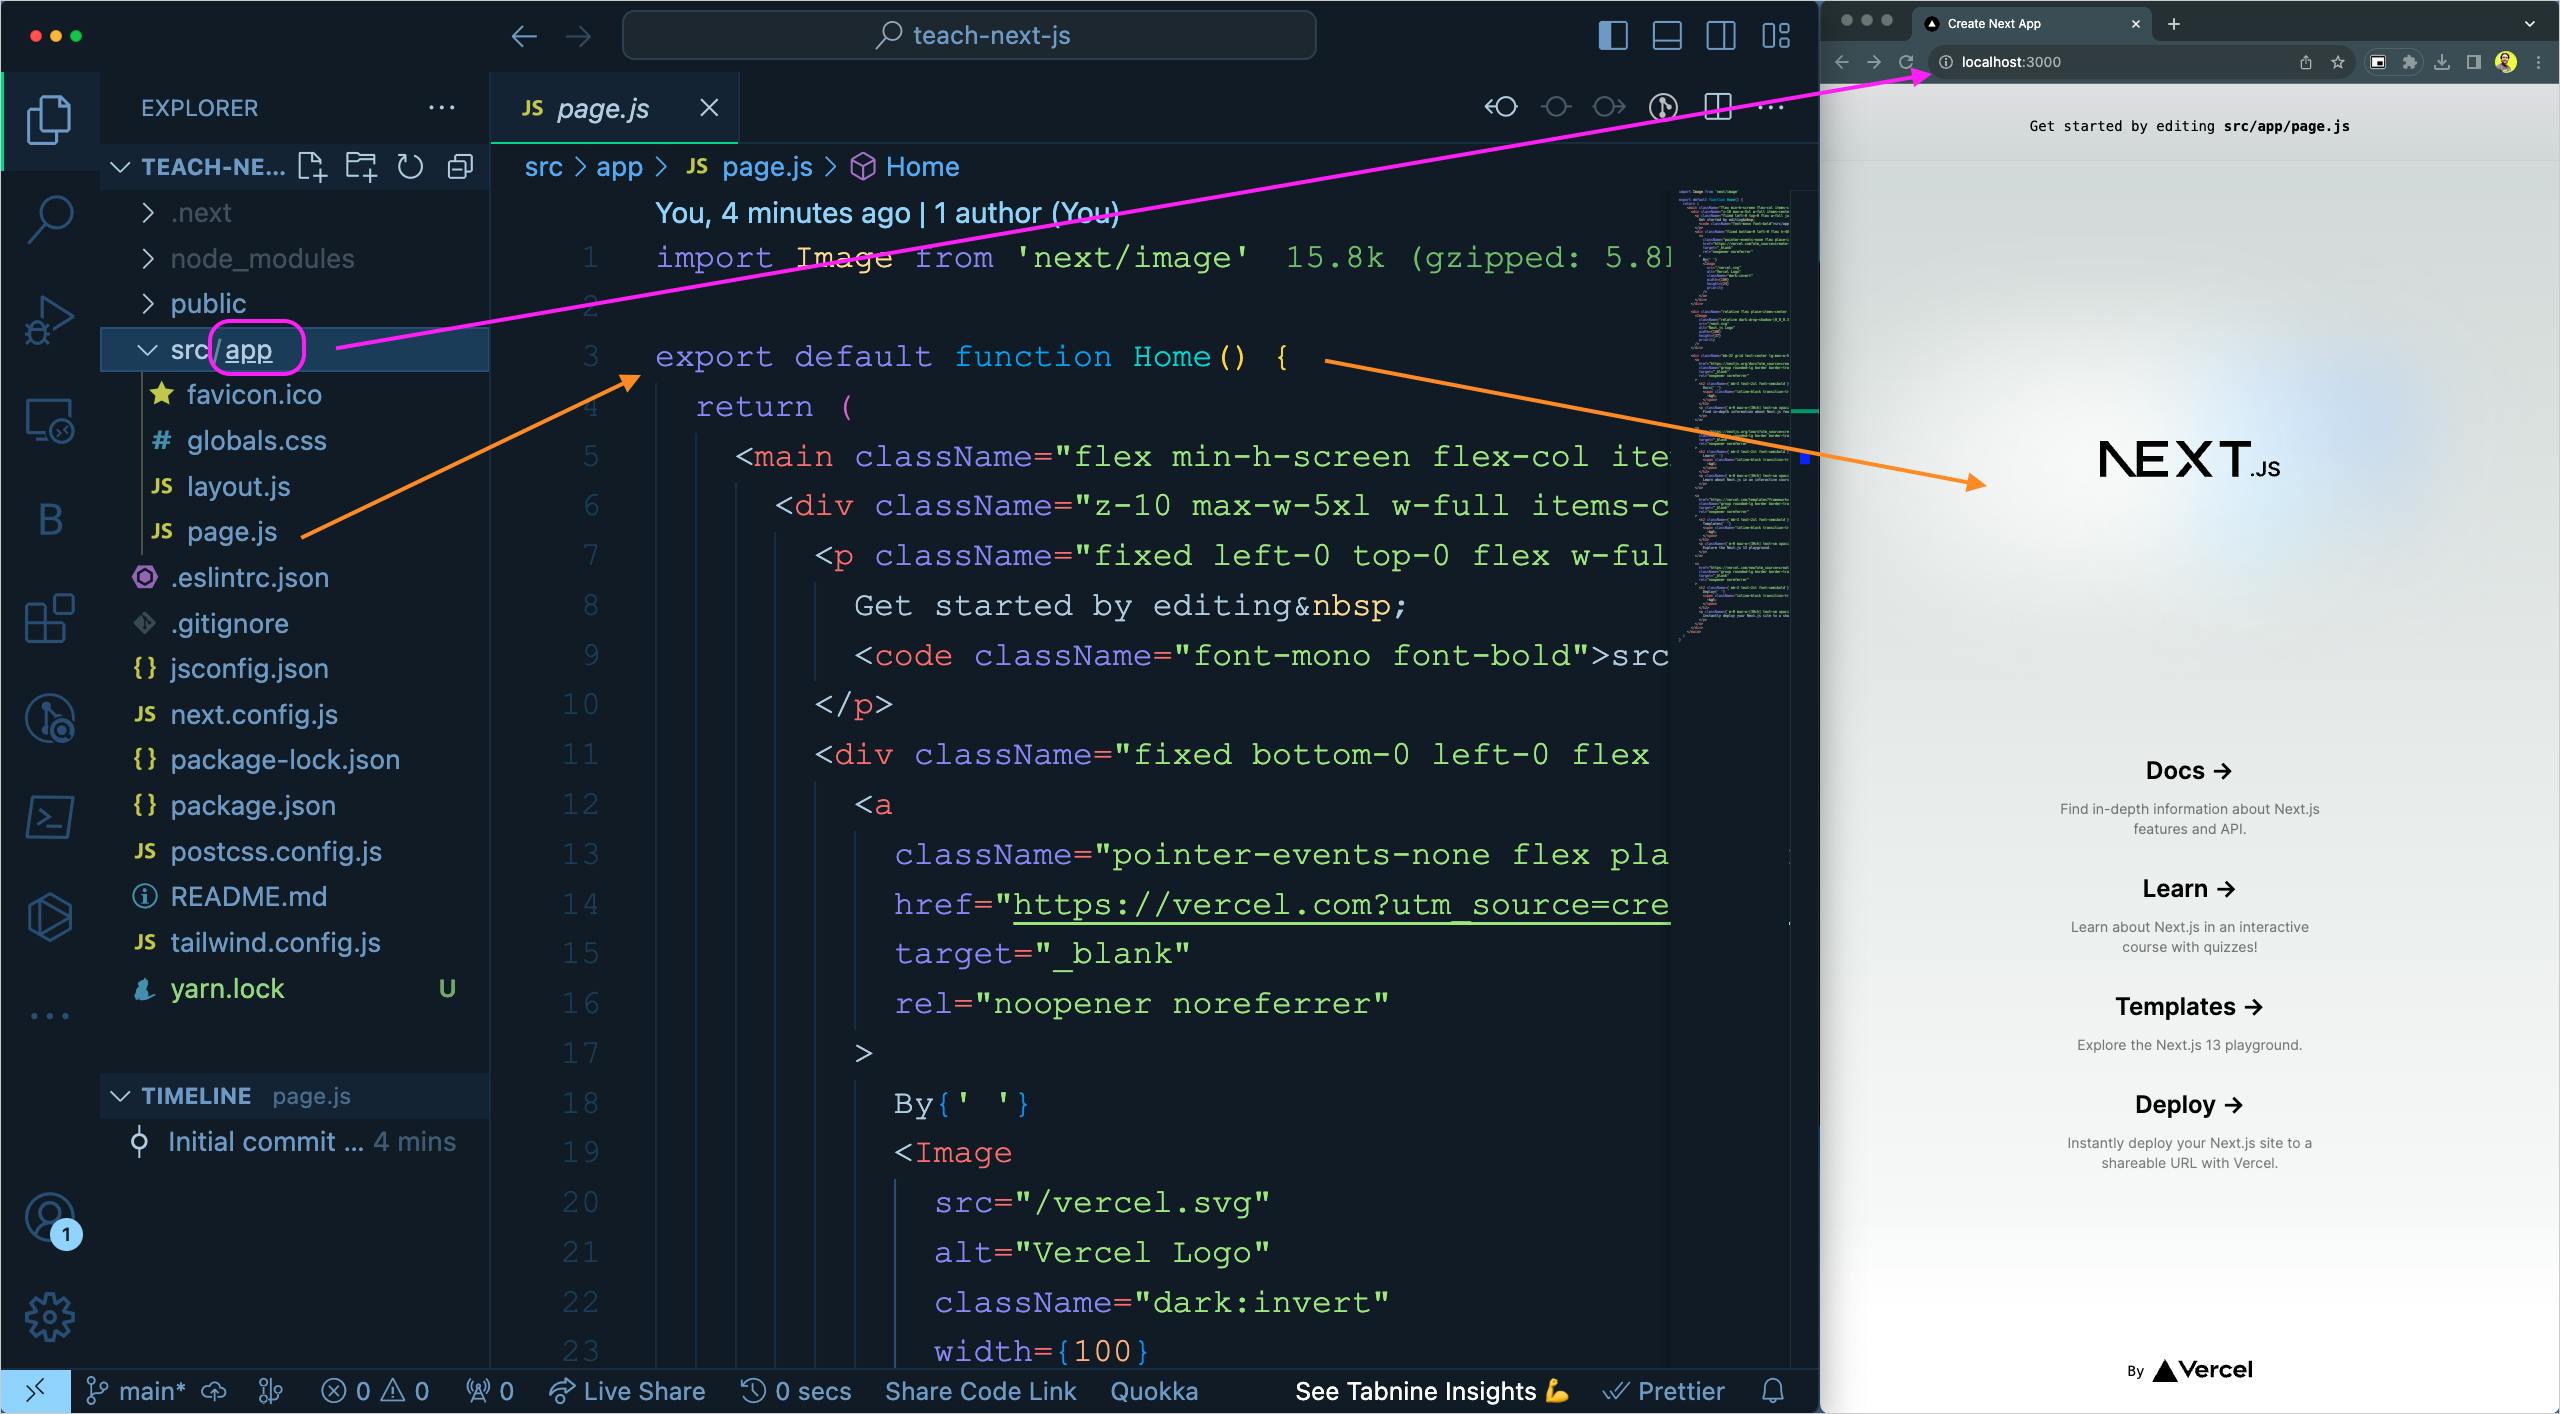
The app will be available on the localhost:3000 by default. As you see in the image below, the app/ directory under the src/ directory signifies the top-level route /. The page.js file under the app/ directory provides us with the page for that route.
Let's clear the existing code in the page.js file and put a simple ReactJS component like this:
export default function Home() {
  return (
    <div className="flex justify-center p-2">
      <p className="text-3xl">
        Home Page
      </p>
    </div>
  )
}
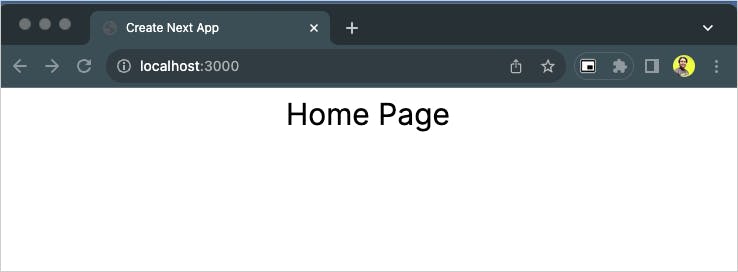
Now, our home page(on the route segment /) will look like this:
Create More Routes
Let's create a /blog route segment. To do that, we will create a blog/ directory under the app/ directory.
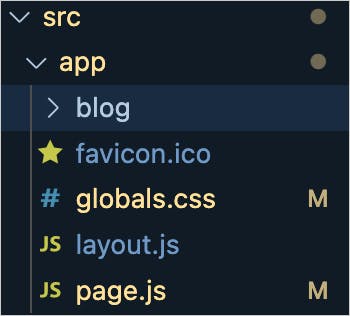
Now you will have a /blog route segment. However, it will not be accessible publicly because we have not defined a page for it yet.
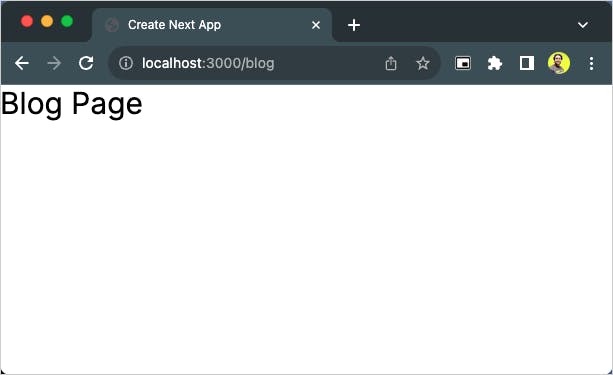
Let's create a page.js file under the blog/ directory with the following content.
const BlogPage = () => {
  return (
    <>
      <p className="text-3xl">Blog Page</p>
    </>
  )
}

export default BlogPage;
We will see the blog page rendered successfully. It is a simple page with a paragraph of text.
Create Nested Routes
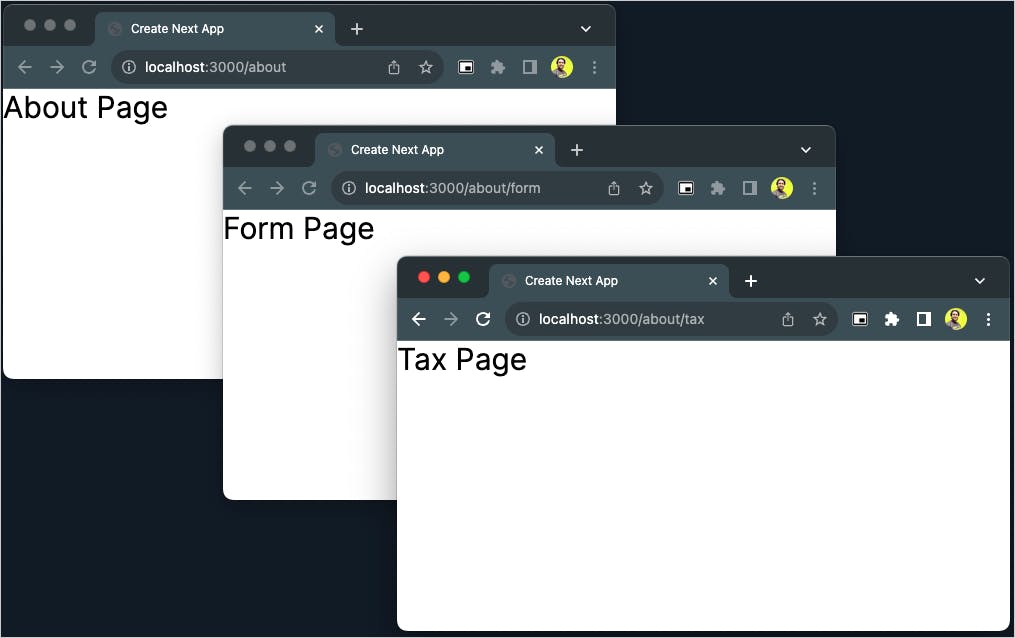
Let us now create a couple of nested routes like /about/form and /about/tax. You guessed it right! We will have to create an about/ directory and then two sub-directories under it. Those are form/ and tax/.
Now, to make all three routes accessible, we need to create a page.js file under each of the directories.

Here is an example page for the /about route segment. You can create something similar for the pages of /about/form and /about/tax.
const AboutPage = () => {
  return (
    <>
      <p className="text-3xl">About Page</p>
    </>
  )
}

export default AboutPage;
Here is how each of the pages may appear for each of the routes.
Create Dynamic Routes
Now it's time we start understanding dynamic route segments with code. You can create a dynamic route segment by wrapping the directory name in square brackets([]). For example, [name], [slug], [id], etc.
Taking forward the example of a blog and its posts, the individual posts can include a route like this, /blog/[slug]/page.js. Here [slug] is the dynamic route segment.
Create a directory named [slug] under the blog/ directory and a page.js file under the blog/[slug]/.
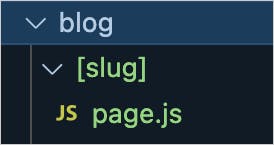
All dynamic segments are passed as the params prop to the page. We can destructure the dynamic route segment value from the params prop. Let's create the content for the dynamic route page with the following code.
const BlogPost = ({params: {slug}}) => {
  return(
    <p className="text-2xl">
      Showing the blog post for the
      slug <strong>{slug}</strong>
    </p>
  )
}

export default BlogPost;
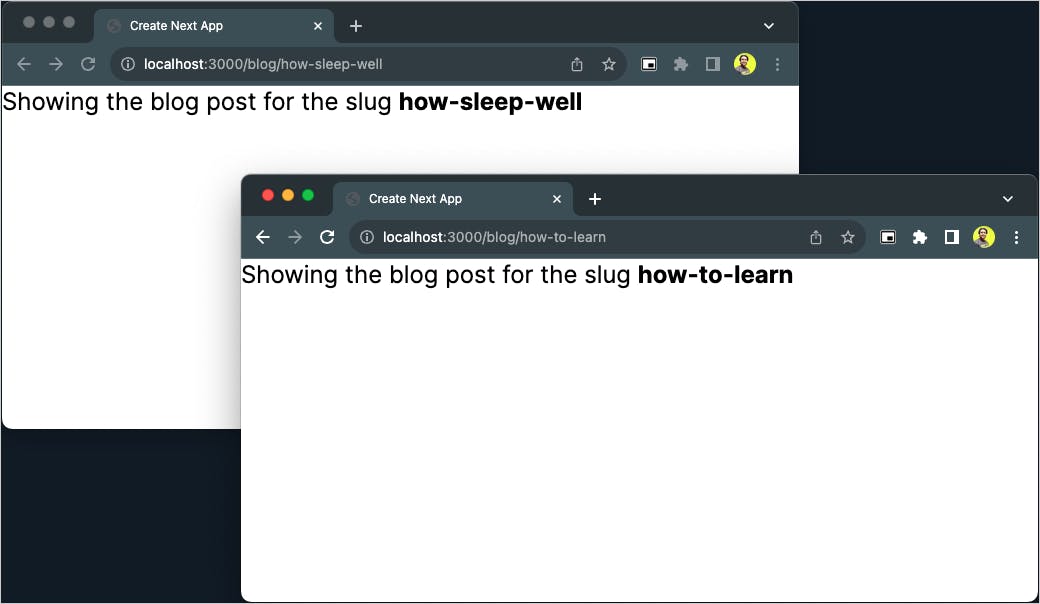
The page has received a params prop, and we can extract the slug value from it. Now, you can do whatever logic you need using the slug value. You can use it to make a network call and get details to render on the page, or you can just render it on the page, as shown below.
Create Dynamic Catch-all Segments
You can broaden the use of the dynamic route segment([slug]) to a catch-all route segment by adding an ellipsis inside the brackets[...slug].
For example /app/store/[...slug]/page.js will match /store/book, /store/design, and also /store/book/novels, /store/design/shoes, /store/design/shoes/boot, and so on.
Create a store/ directory under the app/ directory. Now, create a directory with the name [...name] under the app/store/.
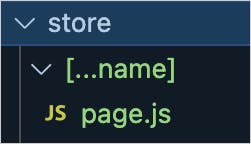
The page.js file under the app/store/[...name] will define a page for the catch-all route segment. This page component is quite similar to the page component we have seen above for the dynamic routes. However, notice that we are extracting name instead of slug here because we have used [...name] as the directory name.
const StorePage = ({params: {name}}) => {
  console.log(name);
  return(
    <p className="text-2xl">
      Showing the store page for the
      name <strong>{name}</strong>
    </p>
  )
}

export default StorePage;
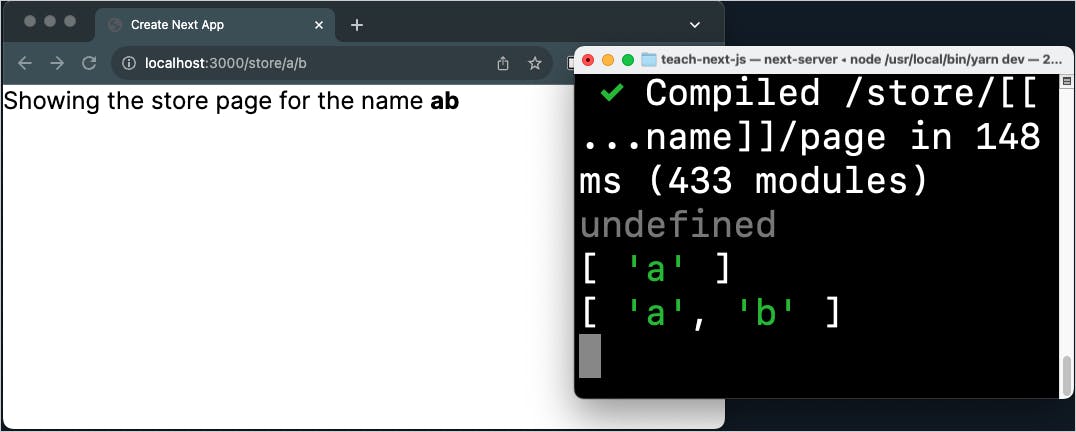
Now, when you try the route localhost:3000/store/a, the params returns {name: ['a']}. We are printing that on the console and browser.

You can also catch the route localhost:3000/store/a/b with the same, and the params prop value will be {name: ['a', 'b']}.
Create Optional Dynamic Catch-all Segments
But hang on! How about the route /store? It gives us 404, page not found.
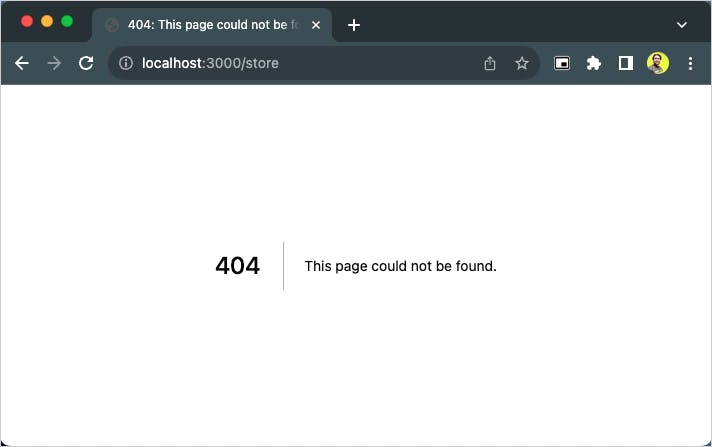
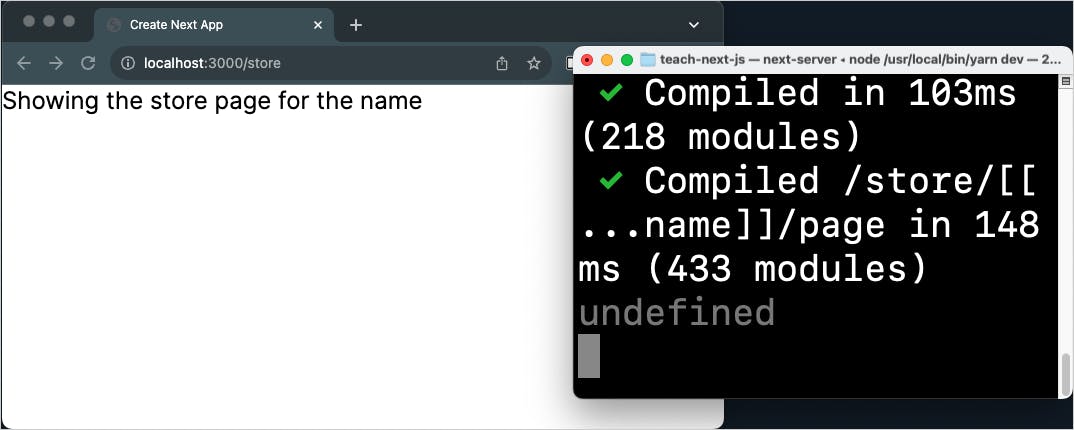
Yes! One way to fix that is by creating a page.js file inside the app/store/ directory. If you don't want that, you can make the catch-all segment as an optional catch-all segment by wrapping the parameter(or directory name) in double square brackets, [[...name]].

Now even the /store route page will be served from the app/store/[[...name]]/page.js. However, in this case, the value of name will be undefined and the params prop value will be {}.
That's all. Thanks for reading it. I hope it was insightful. If you liked the tutorial, please post likes and share it in your circles.
One Last Thing...
I am a self-declared Next.js evangelist who loved this framework from its very beginning days. With the inclusion of the App Router, the affection has gone higher 😊.
I have a full-fledged playlist on my YouTube channel(tapaScript) that will teach you to build projects with Next.js, from clarifying fundamental concepts to coding and tasks.
You may want to check it out.
Let's connect. I share knowledge on web development, content creation, Open Source, and careers on these platforms.

