Princess Finder using React, ml5.js, and Teachable Machine Learning
Co-Founder, @CreoWis | Teacher, @tapaScript | Founder, @ReactPlay | YouTuber | Writer | Human
It's celebration time 🎉. We are just done with the fabulous Christmas 🎅 and waiting for the new year bell to ring. Hashnode's Christmas Hackathon is also going strong with many of the enthusiasts are building something cool and writing about it.
There shouldn't be any excuse to stay away from it. So, I thought of building something cool(at least, my 7 years old daughter thinks it is 😍) while learning about a bit of Machine Learning. So what is it about?
I've borrowed all the Disney Princess dolls from my daughter to build a Machine Learning model such that, an application can recognize them with confidence using a webcam. I have given it a name too. The app is called, Princess Finder. In this article, we will learn the technologies behind it along with the possibilities of extending it.
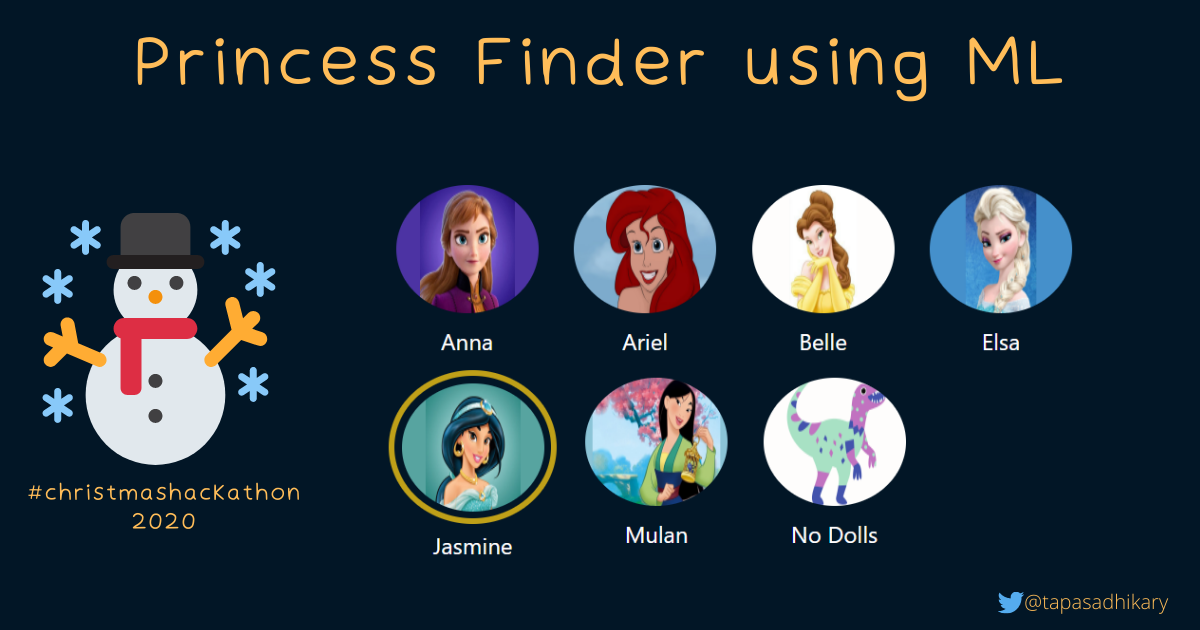
The Princess Finder
The Princess Finder app is built using,
- The Teachable Machine: How about an easy and fast way to create machine learning
modelsthat you can directly use in your app or site? The Teachable Machine allows you totraina computer with images, sounds, and poses. We have created a model using the Disney princess so that, we can perform anImage Classificationby using it in our app. - ml5.js: It is machine learning for the web using your web browser. It uses the web browser's built-in graphics processing unit (GPU) to perform fast calculations. We can use APIs like,
imageClassifier(model),classify, etc. to perform the image classification. - React: It is a JavaScript library for building user interfaces. We can use
ml5.jsin a React application just by installing and importing it as a dependency.
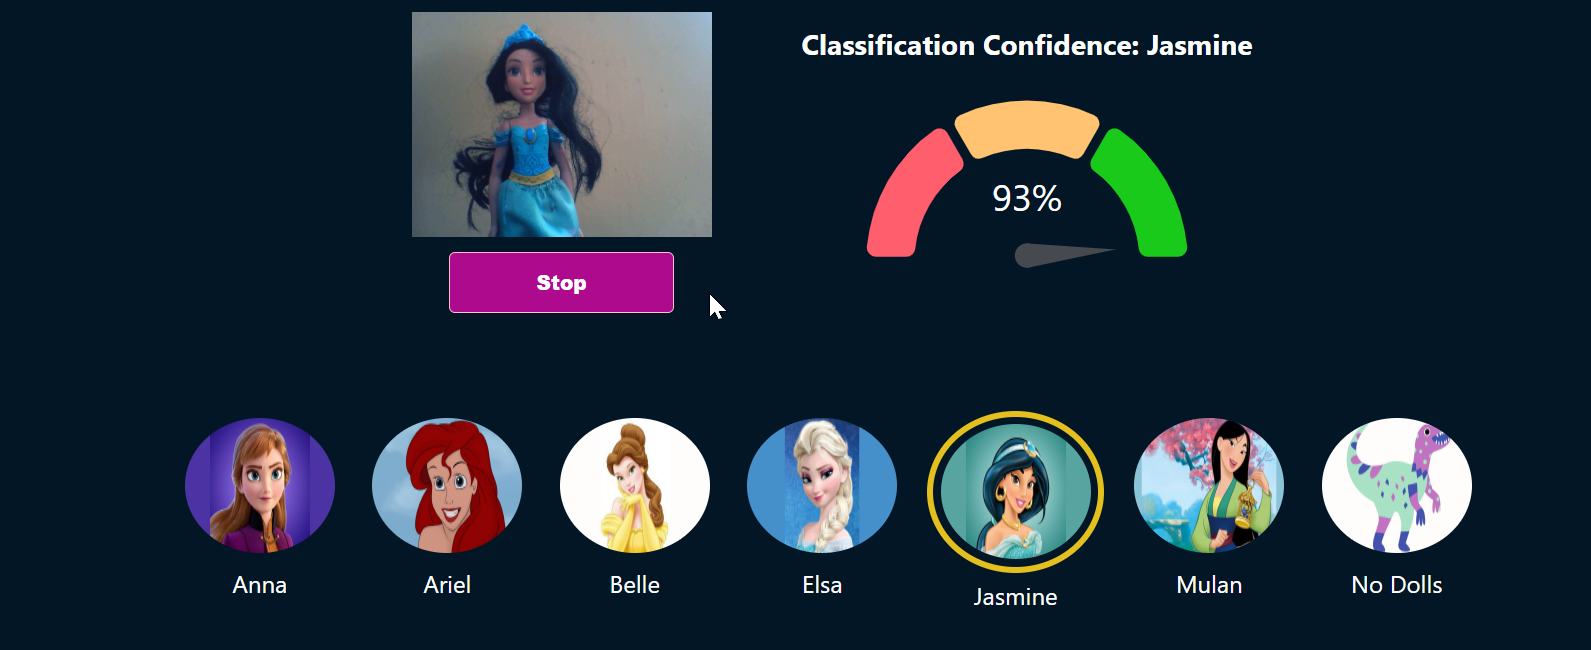
Here is a snap from the app shows, it is 93% confident that the princess is Jasmine. It also marks it with a golden ring.
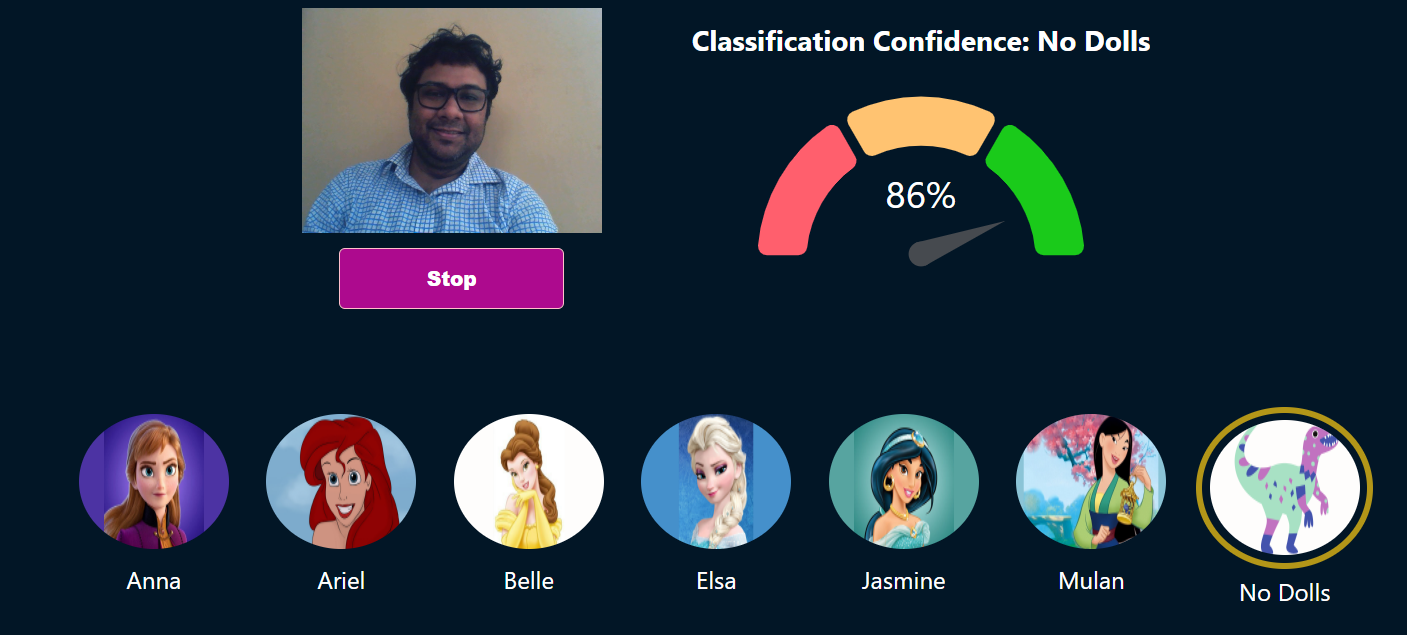
Whereas, there is no way I look like a Disney Princess(not even a doll). Hence my own image has been classified correctly saying, No Dolls.
Here is a quick demo with lots of excitements,
A Few Terminologies
If you are a newbie to Machine Learning, you may find some of the terminologies a bit overwhelming. It is better to know the meaning of them at a high level to understand the usages.
| Field | Type |
| Model | A representation of what an ML system has learned from the training. |
| Training | It is a process of building a Machine Learning model. Training is comprised of various examples to help to build the model. |
| Examples | One row of a dataset helps in training a model. An example consists of the input data and a Label. |
| Label | In Supervised Learning, the possible result of an example is called, Label. |
| Supervised Learning | Supervised machine learning is about Training a model using the input data and the respective Label. |
| Image Classification | It is a process to classify objects, patterns in an image. |
You can read more about these and other Machine Learning terminologies from here.
Our Princess Finder app uses the Supervised Machine learning where we have trained the model with lots of examples of princesses pictures. Each of the example data also contains a label to identify a particular princess by the name.
Teachable Machine
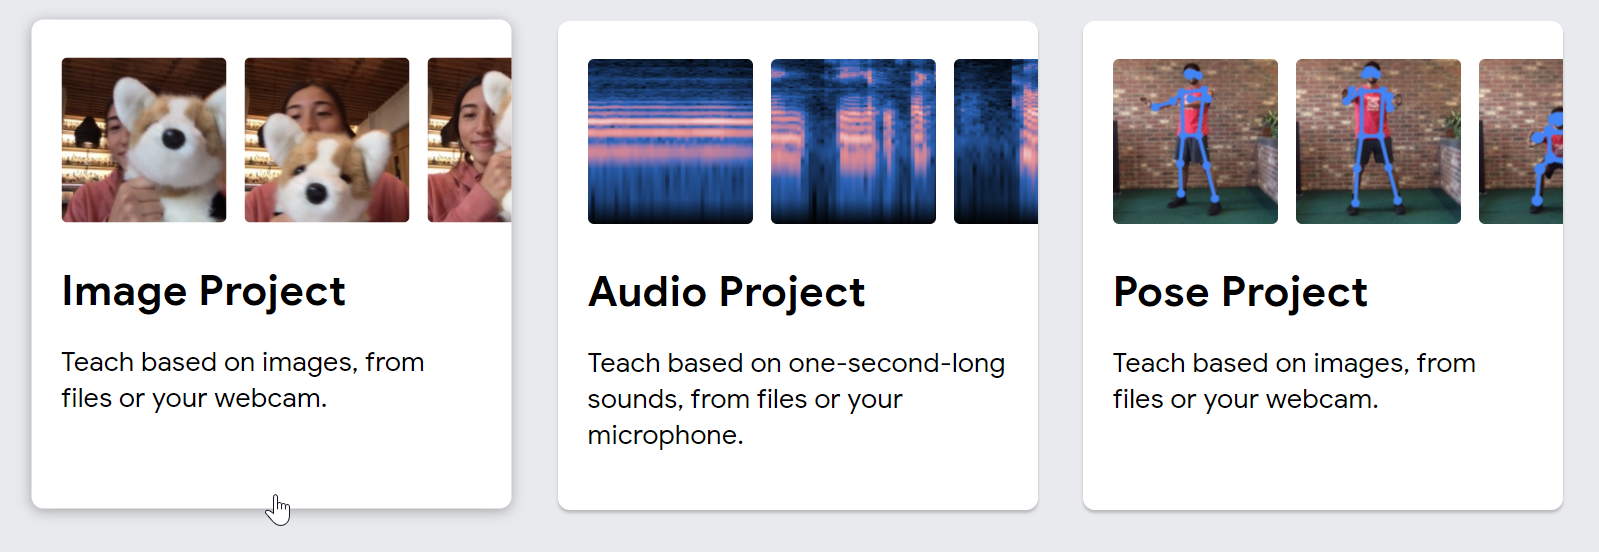
We can create the ML models with a few simple steps using the Teachable Machine user interfaces. To get started, browse to this link. You can select either an image, sound, or pose project. In our case, it will be an image project.
Next, we need to define the classifications by selecting the examples(the images and labels). We can either use a webcam to take the snaps or can upload the images.
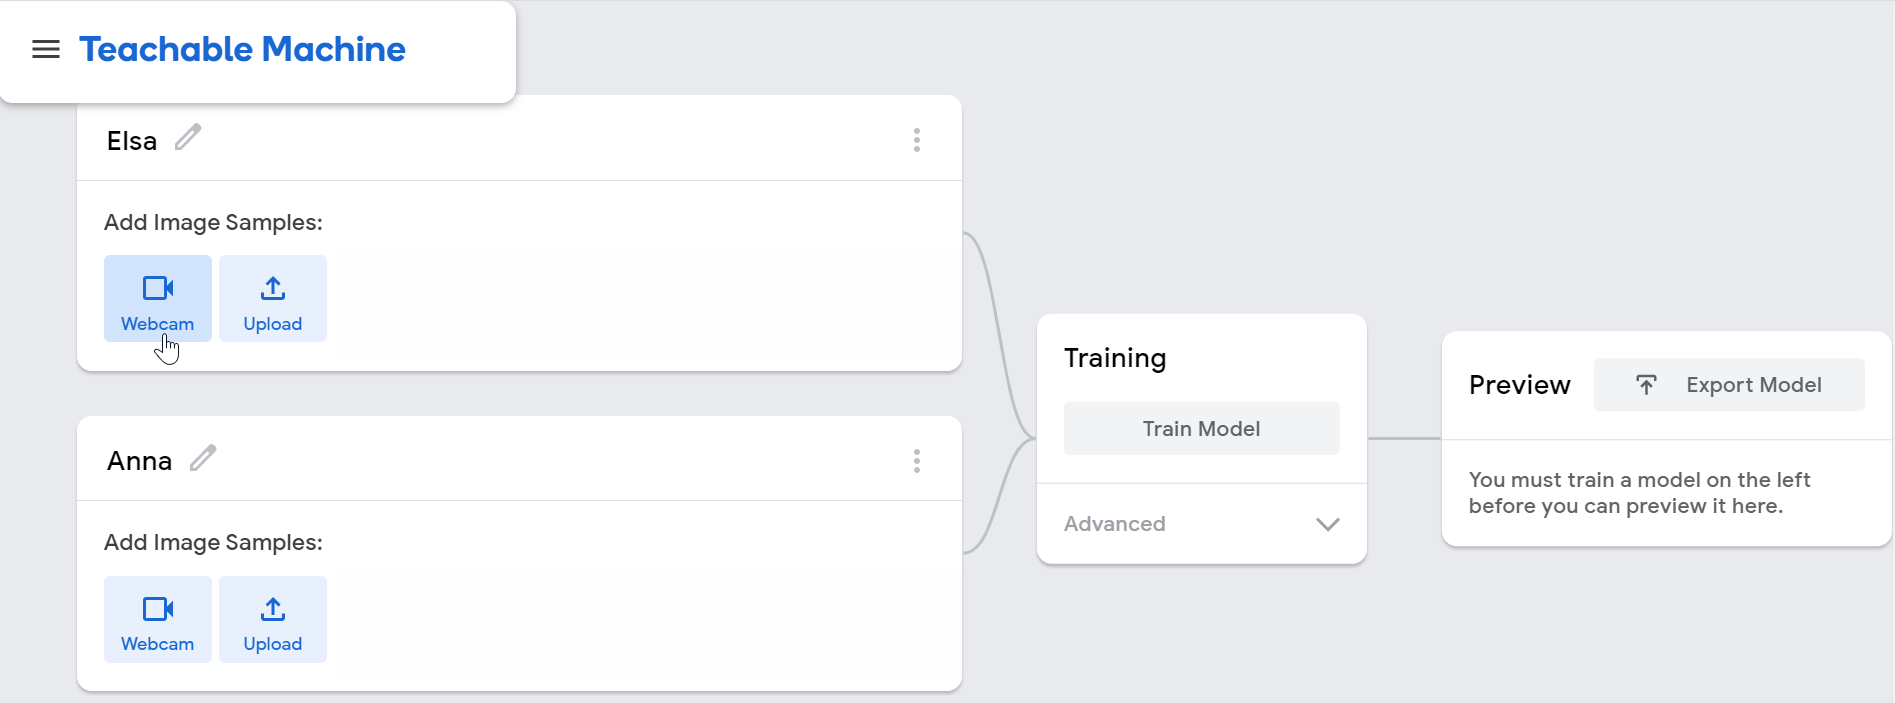
We start the training once the examples are loaded. This is going to create a model for us.
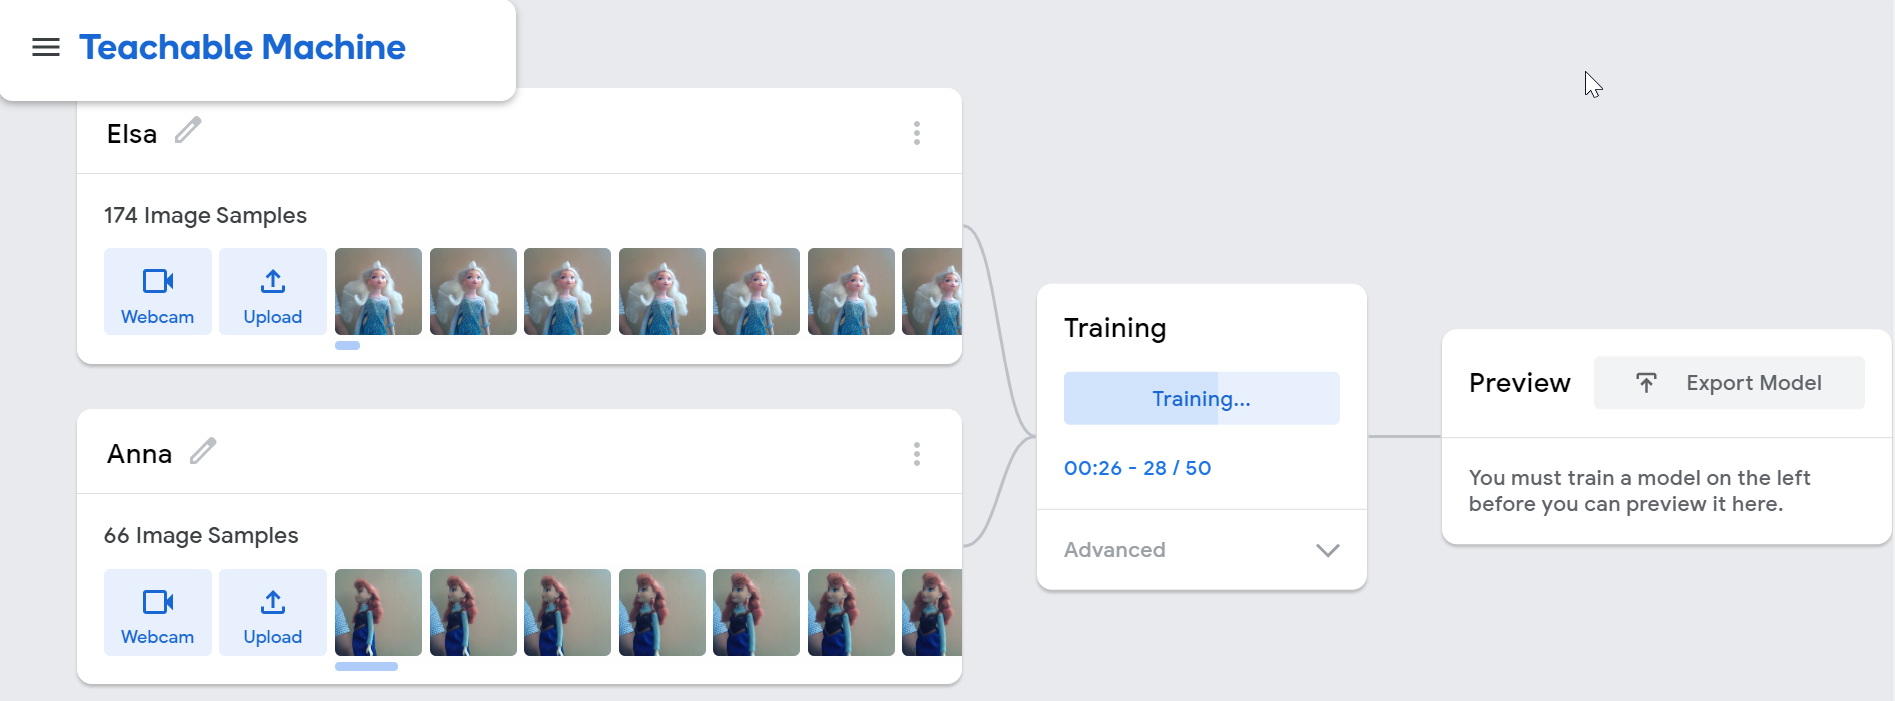
After the training is complete, you can test the model with the live data. Once satisfied, you can export the model to use it in an application.
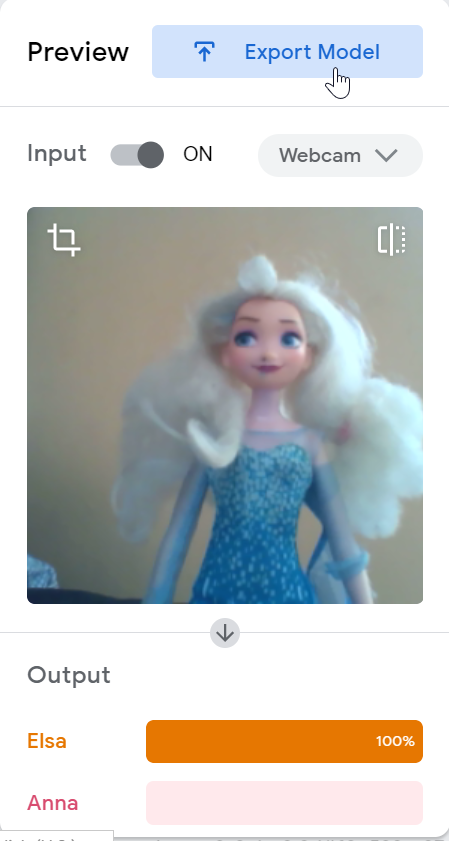
Finally, we can download the model to use it in our app. You can optionally upload the model to the cloud to consume it using a URL. You can also save the project to google drive.
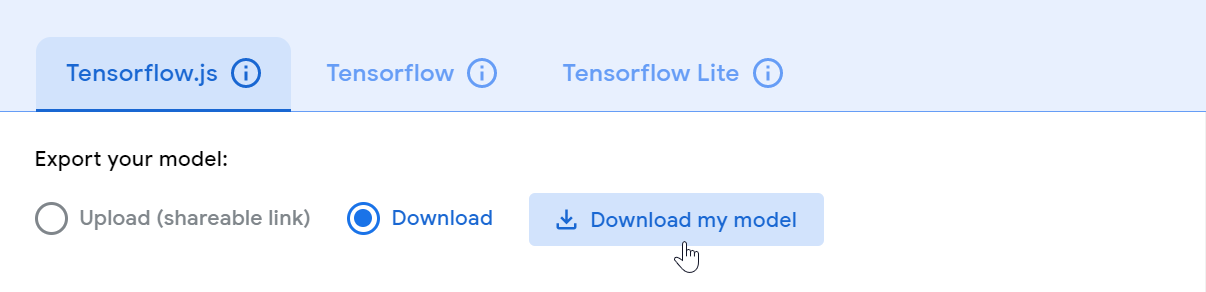
If you are interested to use or extend the model I have created, you can download and import it into the Teachable Machine interface.
User Interface using ml5.js and React
So we have a model now. We will use the ml5.js library to import the model and classify the images using the live stream. I have used React as I am most familiar with it. You can use any UI library, framework, or vanilla JavaScript for the same. I have used the create-react-app to start the skeleton of my app up and running within a minute.
Install the ml5.js dependency,
# Or, npm install ml5

yarn add ml5
Unzip the model under the public folder of the project. We can create a folder called, model under the public and extract the files.
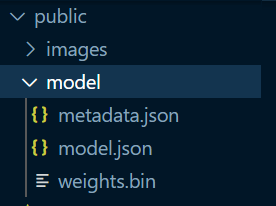
Use the ml5.js library to load the model. We will use the imageClassifier method to pass the model file. This method call returns a classifier object that we will use to classify the live images in a while. Also note, once the model is loaded successfully, we initialize the webcam device so that we can collect the images from the live stream.
useEffect(() => {
    classifier = ml5.imageClassifier("./model/model.json", () => {
      navigator.mediaDevices
        .getUserMedia({ video: true, audio: false })
        .then((stream) => {
          videoRef.current.srcObject = stream;
          videoRef.current.play();
          setLoaded(true);
        });
    });
  }, []);
We also need to define a video component in the render function,
 <video
     ref={videoRef}
     style={{ transform: "scale(-1, 1)" }}
     width="200"
     height="150" />
Next, we call the classify() method on the classifier to get the results. The results is an array of all the labels with the confidence factor of a match.
classifier.classify(videoRef.current, (error, results) => {
  if (error) {
     console.error(error);
     return;
  }
  setResult(results);
});
We should use the classify method call in a specified interval. You can use a React hook called, useInterval for the same. The results array may look like this,
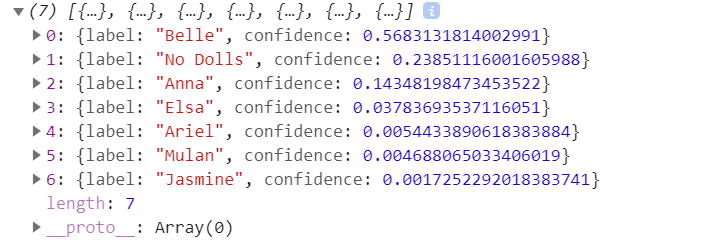
Please find the complete code of the App.js file from here. That's all, you can now use this result array to provide any UI representation you would like to. In our case, we have used this results array in two React components,
- List out the Princess and Highlight the one with the maximum match
<Princess data={result} /> - Show a Gauge chart to indicate the matching confidence.
<Chart data={result[0]} />
The Princess component loops through the results array and render them along with using some CSS styles to highlight one.
import React from "react";

const Princess = (props) => {
  const mostMatched = props.data[0];
  const allLabels = props.data.map((elem) => elem.label);
  const sortedLabels = allLabels.sort((a, b) => a.localeCompare(b));
  return (
    <>
      <ul className="princes">
        {sortedLabels.map((label) => (
          <li key={label}>
            <span>
              <img
                className={`img ${
                  label === mostMatched.label ? "selected" : null
                }`}
                src={
                  label === "No Dolls"
                    ? "./images/No.png"
                    : `./images/${label}.png`
                }
                alt={label}
              />
              <p className="name">{label}</p>
            </span>
          </li>
        ))}
      </ul>
    </>
  );
};

export default Princess;
The Chart component is like this,
import React from "react";
import GaugeChart from "react-gauge-chart";

const Chart = (props) => {
  const data = props.data;
  const label = data.label;
  const confidence = parseFloat(data.confidence.toFixed(2));
  return (
    <div>
      <h3>Classification Confidence: {label}</h3>
      <GaugeChart
        id="gauge-chart3"
        nrOfLevels={3}
        colors={["#FF5F6D", "#FFC371", "rgb(26 202 26)"]}
        arcWidth={0.3}
        percent={confidence}
      />
    </div>
  );
};
export default Chart;
That's all about it. Please find the entire source code from the GitHub Repository. Feel free to give the project a star(⭐) if you liked the work.
Before We End...
Hope you find the article insightful. Please 👍 like/share so that it reaches others as well. Let's connect. Feel free to DM or follow me on Twitter(@tapasadhikary). Have fun and wish you a very happy 2021 ahead.