

A step by step guide to your first CLI(Command Line Interface) app using Node.js


I was supposed to attend a meetup on Developing First CLI using Node, last Sunday. I was as excited as I am now while writing this blog post. But unfortunately, I had to miss the session, which is when I thought I would be writing one on my own and sharing. Hence this post!
If you follow this post along, you will be able to develop an awesome Command Line Interface(CLI) using Node.js infrastructure. I am assuring you, it will be fun and enlightening. You will find the entire source code at the end of the post. However, feel free to download/clone early if you would like to.
Prerequisites
- JavaScript: Well... you know why!
- Node.js (I am using version 8.11.1): A basic knowledge of Node.js will be enough.
- A Curious mind!
So, What is this App about?
It's about Predicting your Future. Yeah, what would be more fun than creating a real(well, near to real!) Fortune Teller app that requests,
- Some of your personal details like name, date of birth.
- If you want the horoscope for Today, Week, Month, or Year?
- If you would like to generate a Text or HTML report of the prediction? Wow, how cool!
Once the app processes all the inputs, It provides,
- A comprehensive Horoscope Prediction.
- A report if you have opted for.
How about we call it a thought-horoscope? Excited 😲?
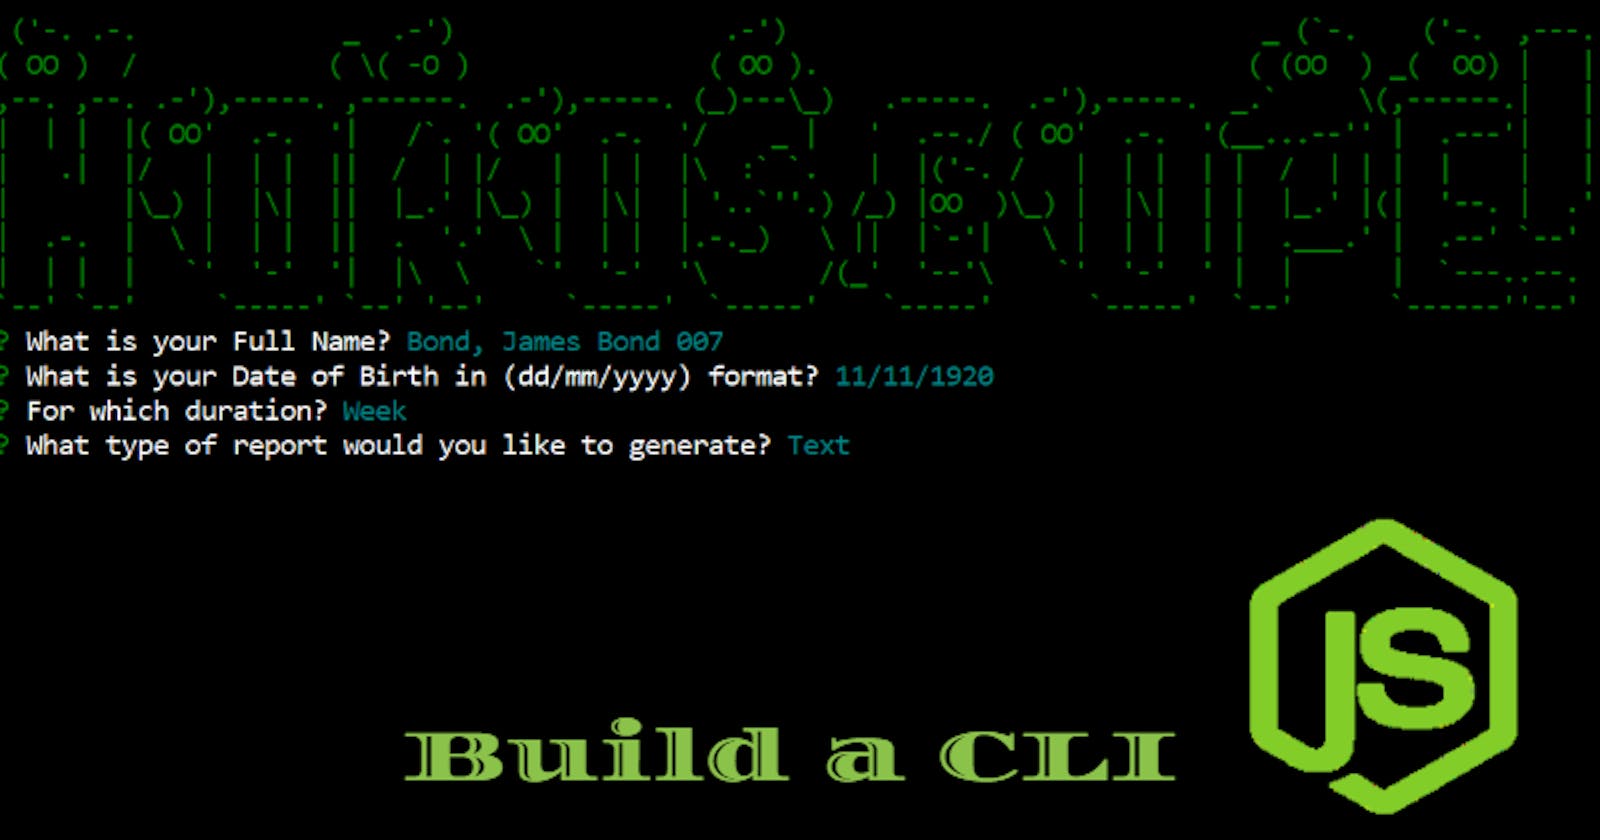
Here is the working output of the app that we are targeting to build:
Installation and Setup
- Download and Install Node.js
- Open a command prompt and use the following commands to set up the project
> mkdir horoscope
> cd horoscope
> npm init
npm initis going to ask you few questions. Just answer those and confirm to create a node project with a file calledpackage.json. - use the following command to install the dependencies we will need for this project
Once installed successfully, you should see a section innpm install --save chalk figlet inquirer fs-extra requestpackage.jsonfile like this (Note- version of the libraries may differ based on the availability of it):"dependencies": { "chalk": "^2.4.2", "figlet": "^1.2.1", "fs-extra": "^8.0.0", "inquirer": "^6.3.1", "request": "^2.88.0" }
We are all Set!
A bit about the dependencies
In the last section, I asked you to install 5 dependencies. Let me explain what those are and why do we need them in our project.
- Figlet: It aims to use FIGFont in JavaScript. More about the FIGFont is here. We want to go a bit fancy here in our app and use some FIGFont like this. Cool? It says,
HOROSCOPE(move your eyes back a bit to view it properly.)
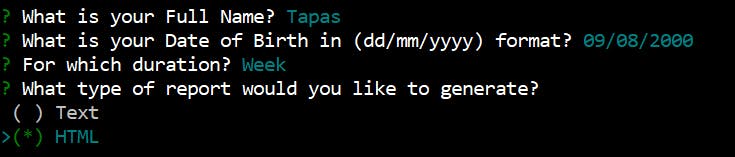
- Inquirer: This is a collection of Command-Line User Interfaces and the most important one required for our app. We will be creating various questions and ask our users to gather answers for further processing. All the below questions are created using it:
- Chalk: This is used for styling the Terminal Strings. What CSS does for the strings render on browsers, Chalk tries to do something similar for the strings and texts displayed on a Terminal. As we are building a CLI-based app, we will be using boring black-and-white terminals. We need some Colors in life! All the colors that you see in the images above are done with chalk.
- request : This is required to make HTTP calls in the most simple way possible. There are other alternatives, but this is enough for our app.
- fs-extra : To deal with File System, we will save some reports as files.
- Now a special mention! This super cool repo created by Tapasweni Pathak. This provides the APIs to Horoscope, and our app will consume the responses from those APIs.
Step 1: Ask Questions and collect the Responses
We will use Inquirer to form the questions we would like to ask users. The following method defines the questions, prompt and returns a promise with an array of answers that the user responds with:
const questionAnswer = () => {
    const questions = [
        {
            name: "NAME",
            type: "input",
            message: "What is your Full Name?"
        },
        {
            name: "DOB",
            type: "input",
            message: "What is your Date of Birth in (dd/mm/yyyy) format?"
        },
        {
            name: "DURATION",
            type: "list",
            message: "For which duration?",
            choices: ["Today", "Week", "Month", "Year"]
        },
        {
            name: "REPORT_TYPES",
            type: "checkbox",
            message: "What type of report would you like to generate?",
            choices: ["Text", "HTML"]
        }

    ];
    return inquirer.prompt(questions);
}
Note the construction of each of the questions. It has a name which is the identifier that we will use to retrieve the answers later. What type of questions and the actual question in the message field.
The following code shows that, how we are going to retrieve the answers provided by user:
questionAnswer().then(answers => {
        // Calculate Zodiac Sun-Sign
        console.log(
            chalk.yellow(
                `Calculating Zodiac Sign of ${answers.NAME} with date of birth ${answers.DOB}....`
            )
        );
        const sunSign = new SunSign().getSunSign(answers.DOB);
        console.log(
            chalk.yellow(
                `Calculated Zodiac Sign of ${answers.NAME} is, [${sunSign}]`
            )
        );

        const dataToProcess = {};
        dataToProcess['name'] = answers.NAME;
        dataToProcess['dob'] = answers.DOB;
        dataToProcess['report'] = answers.REPORT_TYPES;
        dataToProcess['sunsign'] = sunSign;
        dataToProcess['duration'] = answers.DURATION;

        // console.log(dataToProcess);
        // Call API to get the Horoscope based on the sunSign
        horoscope.getHoroscope(dataToProcess);
    });
Note that we are using the Question Keys like answers.NAME to retrieve the answers and then use those further to our business logic.
Step 2: Process the Responses
As seen in Step 1, we can get the user responses in an array and can use those by the question key. For our app,
- We first use the date of birth value to get the Zodiac Sign of the user.
- Then, pass the zodiac sign along with a few other information to get the Horoscope.
Step 3: Get the Horoscope
We call the Horoscope APIs to fetch the horoscope of the user. It requires a couple of inputs like,
- Zodiac Sign
- Duration for which we need the Horoscope, i.e., Today, Week, Month, or Year.
Here is the code:
exports.getHoroscope = (dataToProcess) => {

    let constURI = `http://horoscope-api.herokuapp.com//horoscope/${dataToProcess.duration.toLowerCase()}/${dataToProcess.sunsign}`;
    // console.log('constURI ', constURI);
    request(constURI, function (error, response, body) {
        if (!error && response.statusCode == 200) {
            let info = JSON.parse(body);
            dataToProcess['output'] = info;
            printHoroscope(dataToProcess);

            const report = new GenerateReport();
            if (dataToProcess.report.indexOf('Text') > -1) {
                report.saveText(dataToProcess);
            }
            if(dataToProcess.report.indexOf('HTML') > -1) {
                report.saveHTML(dataToProcess);
            }


        } else {
            if (error) {
                console.log(chalk.red(`${response.statusCode}: Failed to get Horoscope at this time, Try Later!`));
            }
        }
    });
}
`
Note, Once we get the response from Horoscope API, we print it on Console to Output the results and create the Reports if the user had opted for.
Step 4: Output the results
As a result output, we print it on console. We make use of chalk to style the text better.
printHoroscope = (dataToProcess) => {
    console.log('\n\n');

    if (dataToProcess.duration === 'Today') {
        console.log(
            chalk.white.underline.bold(
                `Horoscope of Zodiac Sign [${dataToProcess.output.sunsign}] for the date, ${dataToProcess.output.date}: `
            )
        );
    } else if (dataToProcess.duration === 'Week') {
        console.log(
            chalk.white.underline.bold(
                `Horoscope of Zodiac Sign [${dataToProcess.output.sunsign}] for the duration, ${dataToProcess.output.week}: `
            )
        );

    } else if (dataToProcess.duration === 'Month') {
        console.log(
            chalk.white.underline.bold(
                `Horoscope of Zodiac Sign [${dataToProcess.output.sunsign}] for the Month, ${dataToProcess.output.month}: `
            )
        );

    }else if (dataToProcess.duration === 'Year') {
        console.log(
            chalk.white.underline.bold(
                `Horoscope of Zodiac Sign [${dataToProcess.output.sunsign}] for the Year, ${dataToProcess.output.year}: `
            )
        );
    }

    console.log(chalk.green(dataToProcess.output.horoscope));
    console.log('\n');
}
It will output the result like:

Step 5: Create Reports
Creating the Reports(Text or HTML) are nothing but creating the appropriate files under a directory. Here is the code that does it:
For Generating the Text based Report:
saveText(data) {
      let textData = `Horocope of ${data.name} as of ${new Date()}:\n
      Result: ${data.output.horoscope}\n
      Sun Sign: ${data.output.sunsign}\n
      Duration: ${data.duration}\n\n
      Copyright Tapas Adhikary 2019`;

      let fileName = `reports/${data.name}.txt`;
      fse.outputFile(fileName, textData, (err) => {
          if (err) {
              console.log(err);
          }
          console.log(`Text Report ${fileName} has been created!`);
      });
  }
For Generating the HTML based Report:
saveHTML(data) {
      let textData = "<h1> Horocope of " + data.name +" as of " + new Date() + "</h1><br><br>"
                  + "<b>Result:</b> " + data.output.horoscope + "<br>"
                  + "<b>Sun Sign:</b> " + data.output.sunsign + "<br>"
                  + "<b>Duration:</b> " + data.duration + "<br><br>"
                  +"<i>Copyright Tapas Adhikary 2019</i>";

      let fileName = `reports/${data.name}.html`;
      fse.outputFile(fileName, textData, (err) => {
          if (err) {
              console.log(err);
          }
          console.log(`HTML Report ${fileName} has been created!`);
      });
  }
A sample HTML report:

That is all about this app. You can improvise on it to the level of your Creativity and Need. CLI-based apps are fun to create, and they help a lot in case of scaffolding, automation, or anything else that any other script language might offer.
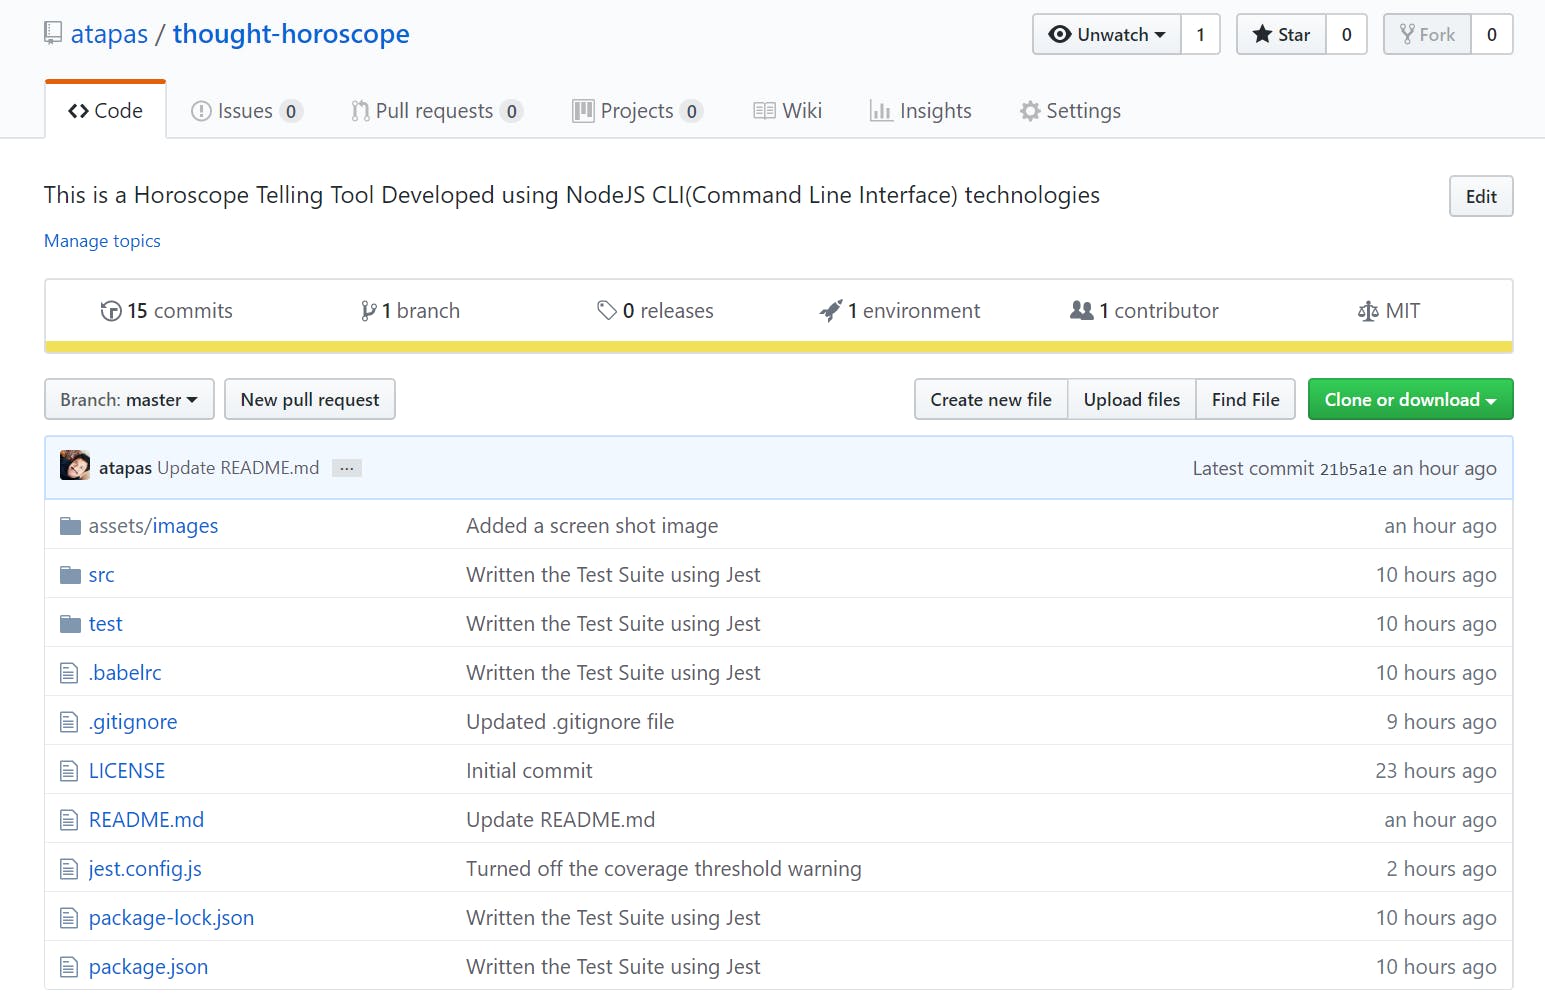
Code
All the source codes mentioned above are open-sourced and can be found here: https://github.com/atapas/thought-horoscope. Give it a try by cloning it.
Run It
- npm install
- npm run app
Test it
- npm run test ( I have written only a few unit test cases using Jest. Feel free to complete the rest of it and open a pull request.)
Have you noticed it?
Have you noticed that I open a terminal to demonstrate the Horoscope app and type the word horoscope? By doing that, the app runs fine? I do not do npm run app or node index.js etc.

Meet npm link
Here is a great utility called,
npm link
npm link creates a global symlink for a dependency. A symlink, or symbolic link, is a shortcut that points to another directory or file on your system. More on npm link can be found here.
You need to do one more thing for the npm link to work. In the package.json file, add this:
"bin": {
    "horoscope": "./src/index.js"
  }
- Give a symlink name. It is 'horoscope' in our case.
- Point it to the main file, which is the 'index.js' file in our case.
- Run the command
npm link.
You have got a link created with the name given by you. You can use the same name from anywhere using a terminal to kick off the app. Do you feel the power of creating a CLI-based tool now? Isn't it Awesome?
I hope you liked the post. Happy Coding, Cheers! 🍻