
10 useful HTML5 features, you may not be using

Co-Founder, @CreoWis | Teacher, @tapaScript | Founder, @ReactPlay | YouTuber | Writer | Human
HTML5 is not a new thing. We have been using several features of it since the initial release(January 2008). As part of #100DaysOfCode initiative, I have taken a close look at the HTML5 feature list again. See what I found? I haven't really used a bunch of it so far!
In this article, I am listing down ten such HTML5 features that I haven't used much in the past but found useful now. I have also created a working example of flow and hosted it on netlify. I hope you find it helpful too.
https://html5-tips.netlify.app/
Great, so let us get started with the explanation, code, and quick tips about each of them.
🔥 Details Tag
The <details> tag provides on-demand details to the user. If you need to show content to the user on-demand, use this tag. By default, the widget is closed. When open, it expands and displays the content within.
The <summary> tag is used with <details> to specify a visible heading.
Code
<details>
     <summary>Click Here to get the user details</summary>
         <table>
                <tr>
                    <th>#</th>
                    <th>Name</th>
                    <th>Location</th>
                    <th>Job</th>
                </tr>
                <tr>
                    <td>1</td>
                    <td>Adam</td>
                    <td>Huston</td>
                    <td>UI/UX</td>
                </tr>
          </table>
  </details>
See it working
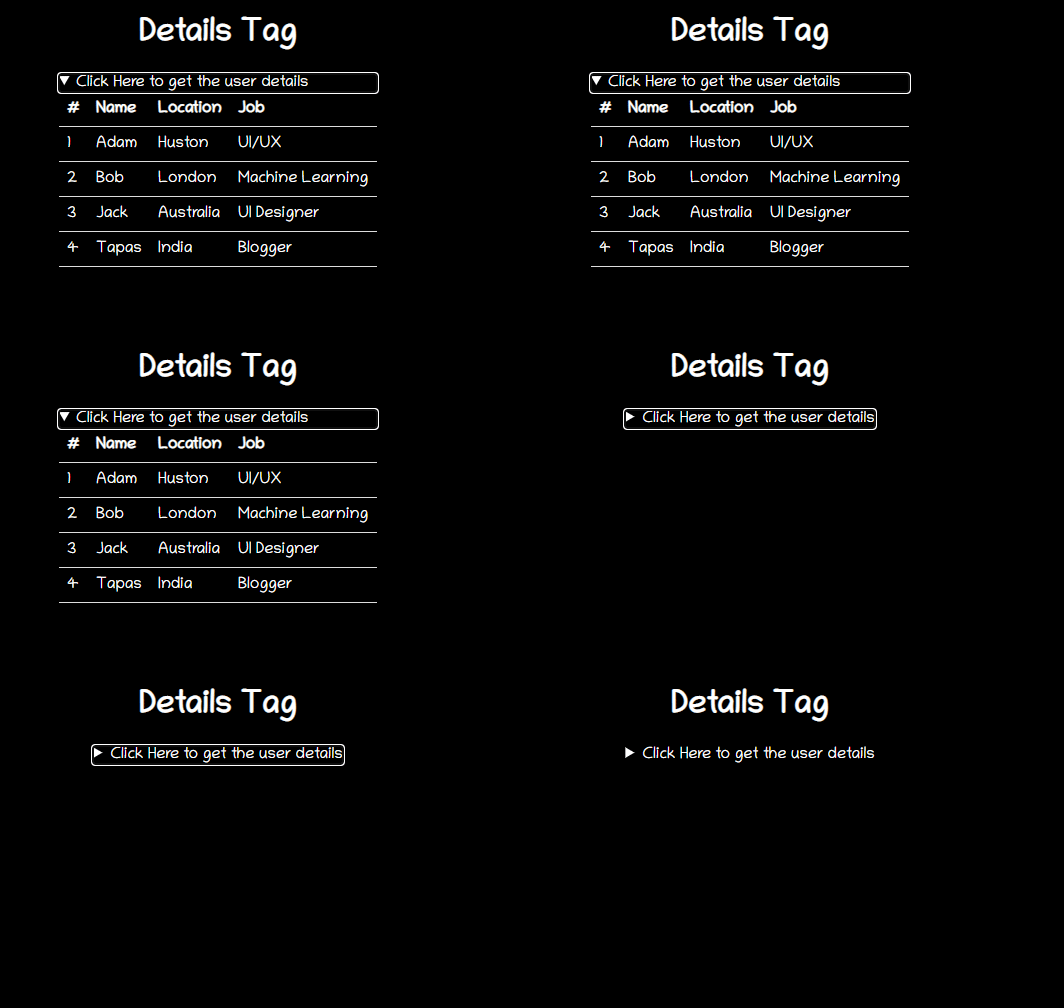
You can play with it from here: https://html5-tips.netlify.app/details/index.html
Quick Tips
Use it in GitHub Readme for showing detailed information on demand. Here is an example of how I have hidden a huge list of react component properties and show it only on demand. Cool, right?
🔥 Content Editable
contenteditable is an attribute that can be set on an element to make the content editable. It works with elements like DIV, P, UL, etc. You have to specify it like, <element contenteditable="true|false">.
Note, When the
contenteditableattribute is not set on an element, it will be inherited from its parent.
Code
<h2> Shoppping List(Content Editable) </h2>
 <ul class="content-editable" contenteditable="true">
     <li> 1. Milk </li>
     <li> 2. Bread </li>
     <li> 3. Honey </li>
</ul>
See it working
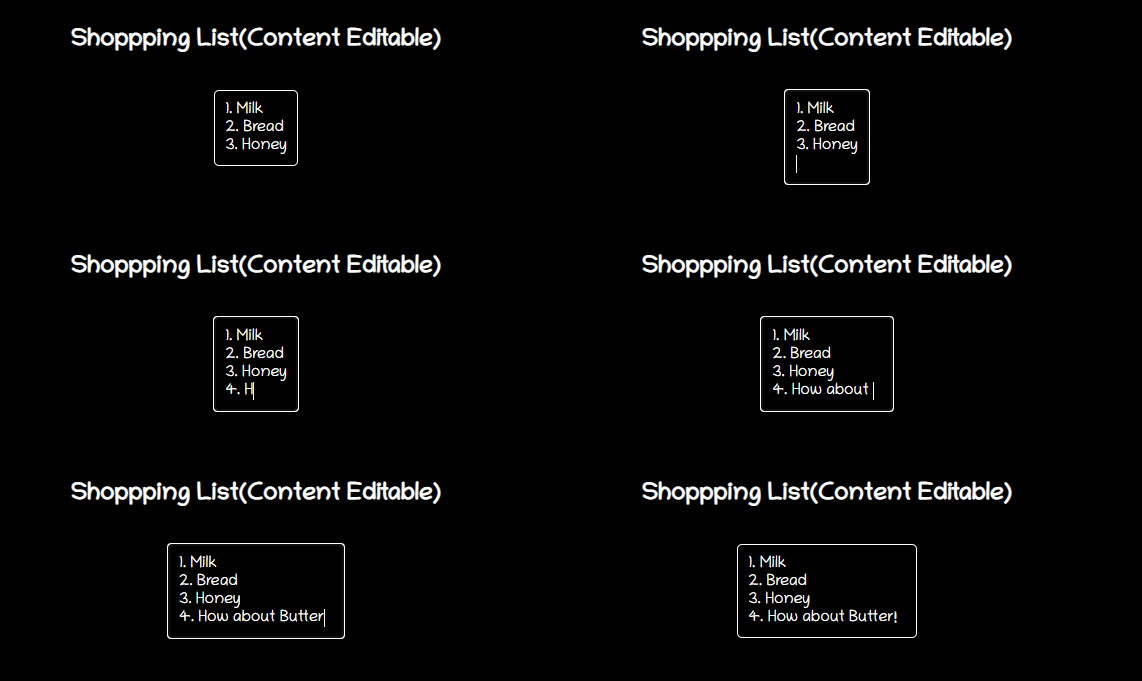
You can play with it from here: https://html5-tips.netlify.app/content-editable/index.html
Quick Tips
A span or div elements can be made editable with it, and you can add any rich content to it using CSS styling. This will be way better than handling it with input fields. Give it a try!
🔥 Map
The <map> tag helps in defining an image map. An image map is an image with one or more clickable areas within it. The map tag goes with an <area> tag to determine the clickable areas. The clickable areas could be either of these shapes, rectangle, circle, or polygonal region. If you do not specify any shape, it considers the entire image.
Code
<div>
    <img src="circus.jpg" width="500" height="500" alt="Circus" usemap="#circusmap">

    <map name="circusmap">
        <area shape="rect" coords="67,114,207,254" href="elephant.htm">
        <area shape="rect" coords="222,141,318, 256" href="lion.htm">
        <area shape="rect" coords="343,111,455, 267" href="horse.htm">
        <area shape="rect" coords="35,328,143,500" href="clown.htm">
        <area shape="circle" coords="426,409,100" href="clown.htm">
    </map>
 </div>
See it working

You can play with it from here: https://html5-tips.netlify.app/map/index.html
Tips
Image map has its own drawbacks but, you can use it for visual presentations. How about trying it out with a family photo and drill down into an individual's photo(maybe the old ones we always cherish for!).
🔥 Mark Content
Use the <mark> tag to highlight any text content.
Code
<p> Did you know, you can <mark>"Highlight something interesting"</mark> just with a HTML tag? </p>
See it working
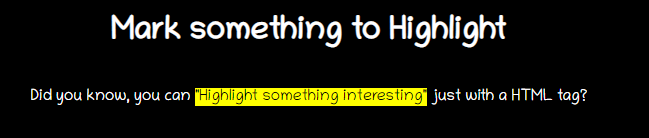
You can play with it from here: https://html5-tips.netlify.app/mark/index.html
Tips
You can always change the highlight color using css,
mark {
  background-color: green;
  color: #FFFFFF;
}
🔥 data-* attribute
Thedata-* attributes are used to store custom data private to the page or application. The stored data can be used in JavaScript code to create further user experiences.
The data-* attributes consist of two parts:
- The attribute name should not contain any uppercase letters and must be at least one character long after the prefix "data-"
- The attribute value can be any string
Code
<h2> Know data attribute </h2>
 <div
       class="data-attribute"
       id="data-attr"
       data-custom-attr="You are just Awesome!">
   I have a hidden secret!
  </div>

 <button onclick="reveal()">Reveal</button>
Then in JavaScript,
function reveal() {
   let dataDiv = document.getElementById('data-attr');
    let value = dataDiv.dataset['customAttr'];
   document.getElementById('msg').innerHTML = `<mark>${value}</mark>`;
}
Note: For reading the values of these attributes in JavaScript, you could use getAttribute() with their full HTML name(i.e., data-custom-attr) but, the standard defines a more straightforward way: using a dataset property.
See it in action

You can play with it from here: https://html5-tips.netlify.app/data-attribute/index.html
Quick Tips
You can use it to store some data on the page and then pass it using the REST call to the server. Another use-case could be the way I show a notification message count here.
🔥 Output Tag
The <output> tag represents the result of a calculation. Typically this element defines a region that will be used to display text output from some calculation.
Code
<form oninput="x.value=parseInt(a.value) * parseInt(b.value)">
   <input type="number" id="a" value="0">
          * <input type="number" id="b" value="0">
                = <output name="x" for="a b"></output>
</form>
See it in action
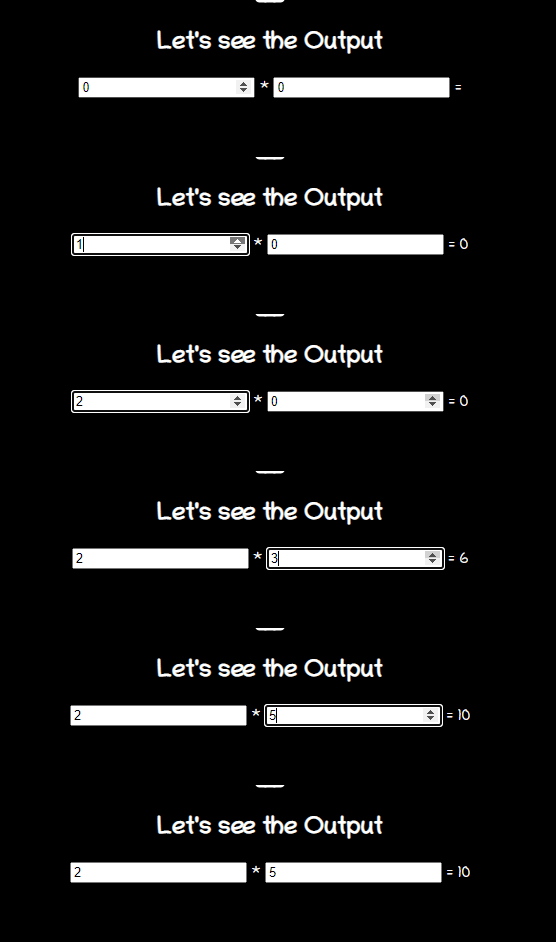
You can play with it from here: https://html5-tips.netlify.app/output/index.html
Tips
If you perform any computation in the client-side JavaScript and want the result to reflect on the page, use <output> tag. You do not have to walk the extra steps of getting an element using getElementById().
🔥 Datalist
The <datalist> tag specifies a list of pre-defined options and allows users to add more to it. It provides an autocomplete feature that allows you to get the desired options with a type-ahead.
Code
<form action="" method="get">
    <label for="fruit">Choose your fruit from the list:</label>
    <input list="fruits" name="fruit" id="fruit">
        <datalist id="fruits">
           <option value="Apple">
           <option value="Orange">
           <option value="Banana">
           <option value="Mango">
           <option value="Avacado">
        </datalist>
     <input type="submit">
 </form>
See it in action
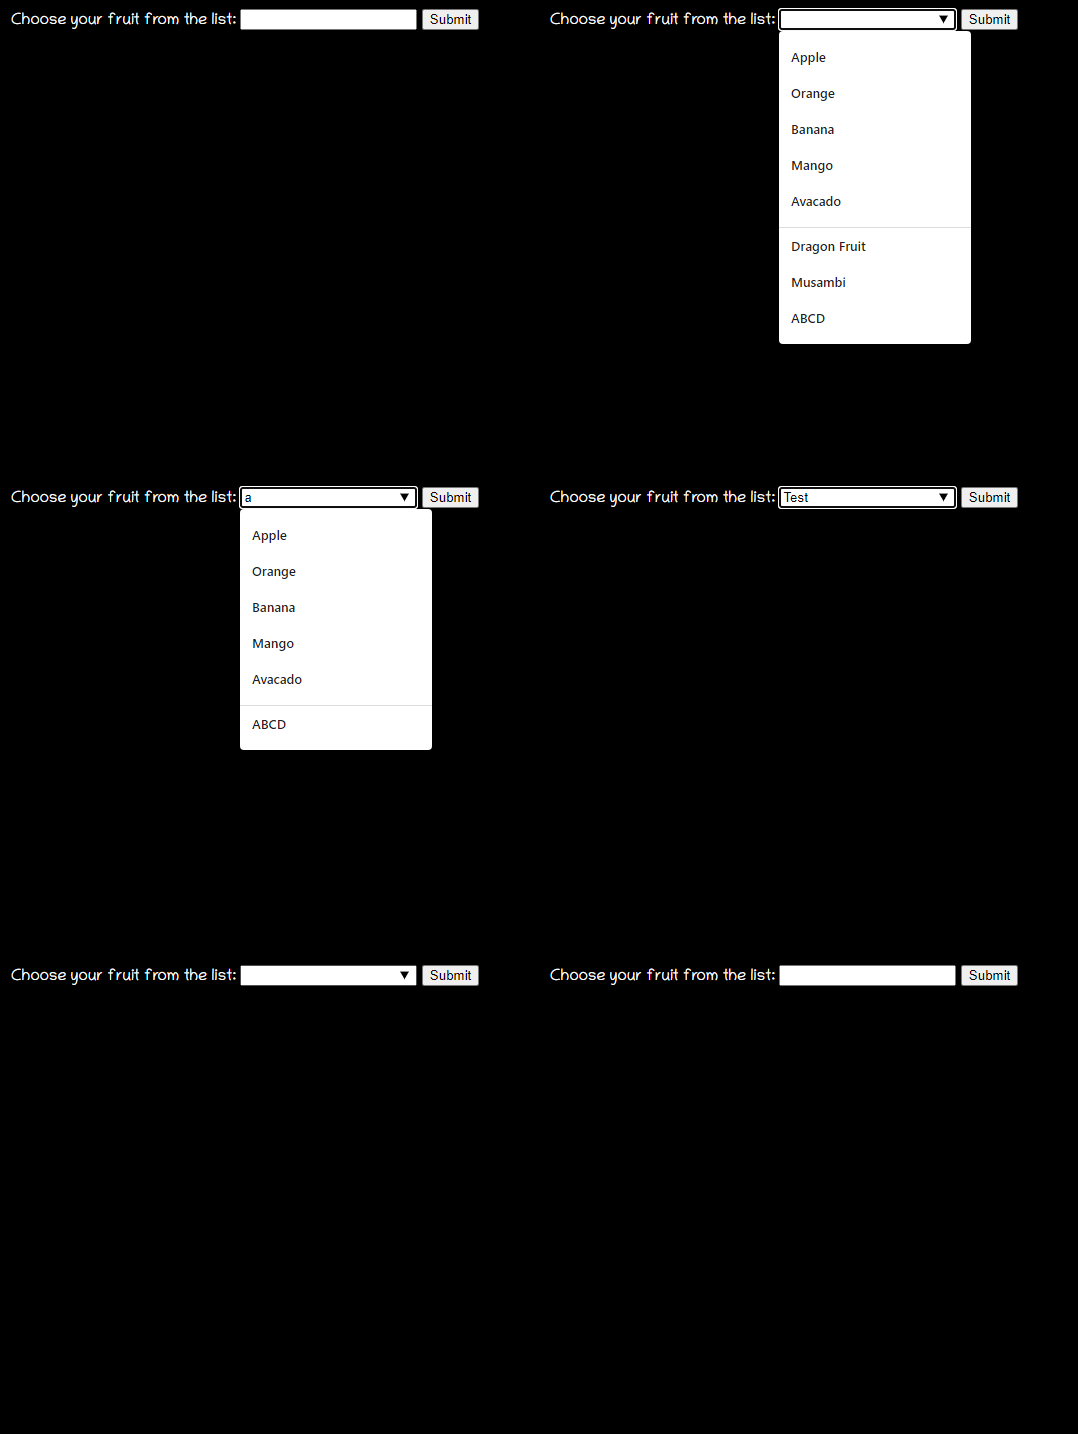
You can play with it from here: https://html5-tips.netlify.app/datalist/index.html
Tips
How is it different than the traditional <select>-<option> tag? Select tag for selecting one or more items from the options you need to go through the list to pick from. Datalist is an advanced feature with autocomplete support.
🔥 Range(Slider)
The range is an input type given a slider kind of range selector.
Code
<form method="post">
    <input
         type="range"
         name="range"
         min="0"
         max="100"
         step="1"
         value=""
         onchange="changeValue(event)"/>
 </form>
 <div class="range">
      <output id="output" name="result">  </output>
 </div>
See it in action
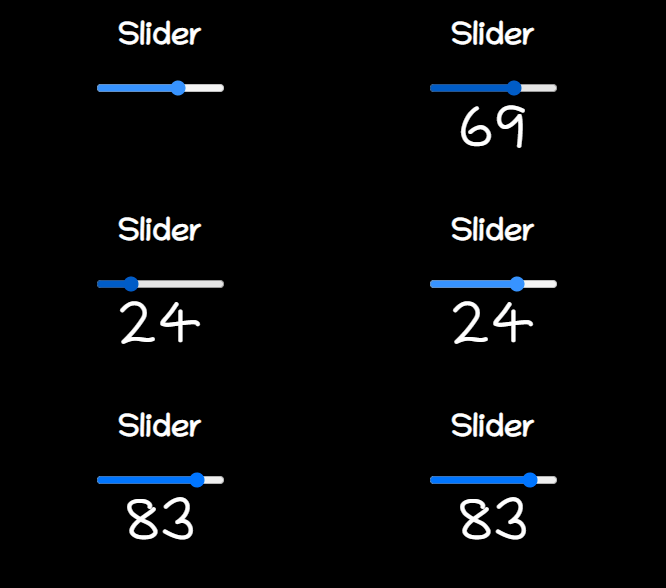
You can play with it from here: https://html5-tips.netlify.app/range/index.html
Tips
There is nothing called slider in HTML5!
🔥 Meter
Use the <meter> tag to measure data within a given range.
Code
<label for="home">/home/atapas</label>
<meter id="home" value="4" min="0" max="10">2 out of 10</meter><br>

<label for="root">/root</label>
<meter id="root" value="0.6">60%</meter><br>
See it in action
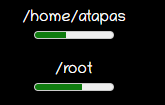
You can play with it from here: https://html5-tips.netlify.app/meter/index.html
Tips
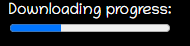
Do not use the <meter> tag for a progress indicator kind of user experience. We have the <Progress> tag from HTML5 for it.
<label for="file">Downloading progress:</label>
<progress id="file" value="32" max="100"> 32% </progress>
🔥 Inputs
This part is mostly known to us with input types like text, password, etc. There are few special usages of the input types,
Code
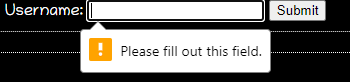
required
Mark an input field is mandatory.
<input type="text" id="username1" name="username" required>
autofocus
Provides focus to the input element automatically by placing the cursor on it.
<input type="text" id="username2" name="username" required autofocus>
validation with regex
You can specify a pattern using regex to validate the input.
<input type="password"
            name="password"
            id="password"
            placeholder="6-20 chars, at least 1 digit, 1 uppercase and one lowercase letter"
            pattern="^(?=.*\d)(?=.*[a-z])(?=.*[A-Z]).{6,20}$" autofocus required>
Color picker
A simple color picker.
<input type="color" onchange="showColor(event)">
<p id="colorMe">Color Me!</p>

What's next?
Well, I am sure I have left behind a few useful ones. How about you complete the list? Please provide comments about this post and your learning on HTML5. See you soon in my next article.
All the code used in this article can be found in the git repo mentioned below. Please give the repo a star if you liked the work.
If it was useful to you, please Like/Share so that it reaches others as well. To get e-mail notifications on my latest posts, please subscribe to my blog by hitting the Subscribe button at the top of the page. You can also follow me on Twitter @tapasadhikary.
The cover image was built on top of an image from freepik.


